
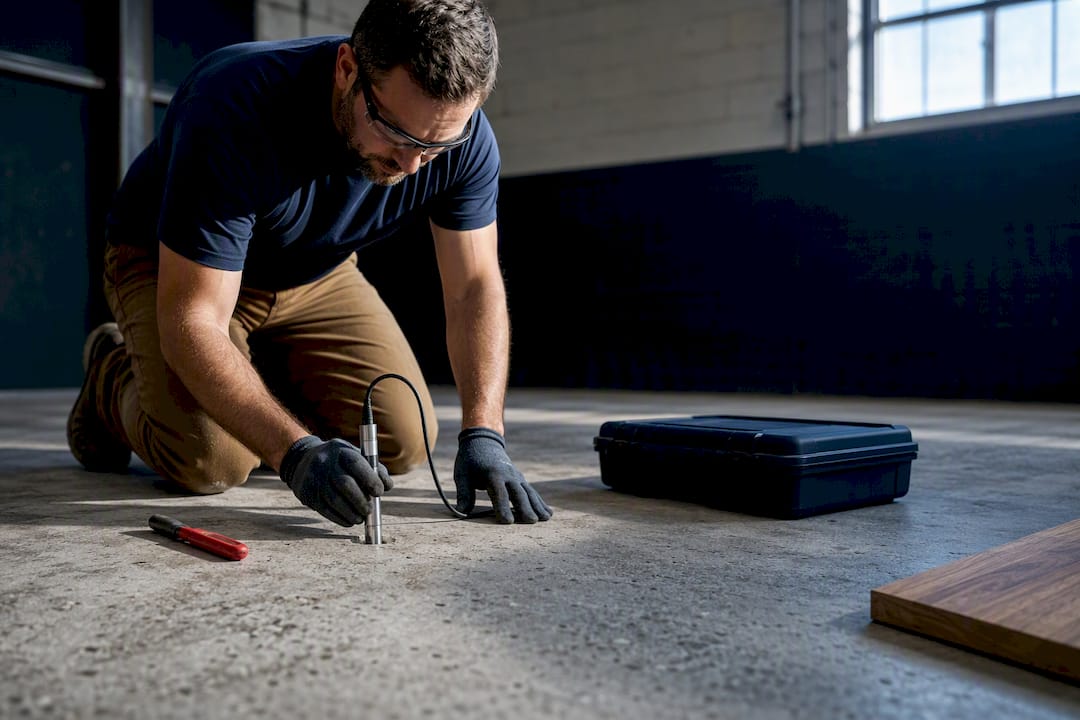
Use a vapor retarder when hardwood goes over concrete or sits above an unconditioned crawlspace, and test the slab first. Skip the guesswork over a normal conditioned wood subfloor unless the flooring manufacturer says otherwise. Run an ASTM F2170 moisture test before you buy materials. Quality Hardwoods of Michigan, Inc can help you match the right retarder to your subfloor once you have those numbers in hand.
TL;DR:
- A vapor retarder is necessary over concrete slabs and unconditioned crawlspaces, with a Class I material for slabs and Class II for unconditioned spaces.
- Tests must measure slab moisture using ASTM F2170, with ideal RH levels below 75–80 percent before hardwood installation.
- Product selection depends on installation method and climate, emphasizing compatibility with adhesives and testing verification, not personal preference.
- Installing a vapor retarder involves overlapping seams, taping, and avoiding fasteners through the material to prevent moisture pathways.
- Most vapor-related failures come from doubling barriers or masking active leaks, making proper testing, material choice, and source control critical.
Table of Contents
- Vapor Retarder Hardwood Basics: Barrier vs. Retarder Explained
- When to Use a Vapor Retarder: Slab, Subfloor, and Climate
- Moisture Testing Requirements: ASTM F2170 and RH Limits
- Vapor Retarder Materials: Which Type Fits Your Floor
- Installation Best Practices: Seams, Fasteners, and Radiant Heat
- Common Vapor Retarder Mistakes That Cause Callbacks
- Choosing the Right Vapor Control Method for Your Floor
- Quick Pre-Install Checklist for Vapor Retarder Hardwood Projects
- Quality Hardwoods of Michigan: Practical Tips and Product Availability
- When to Call a Pro for Vapor Retarder Hardwood Work
- Get the Right Vapor Retarder and Flooring Materials in One Stop
- Sources
- FAQ
Vapor Retarder Hardwood Basics: Barrier vs. Retarder Explained
A “vapor barrier” and a “vapor retarder” aren’t the same thing, and the difference decides how your floor dries out after a spill or a humid summer. Permeance, measured in perms, is what separates them, and building codes split materials into three classes:
- Class I (≤0.1 perm): True vapor barriers, like sheet polyethylene. Nearly impermeable.
- Class II (0.1–1.0 perm): Vapor retarders, such as some kraft-faced papers and certain paints.
- Class III (1.0–10.0 perms): Semi-permeable materials, including many latex paints and some building papers.
These classes come straight from building science research on vapor barrier performance, and codes lean on them because the wrong class in the wrong spot traps moisture instead of blocking it. A Class I product over a wet slab stops vapor from wicking up, but the same material in the wrong climate zone can trap moisture inside the assembly with nowhere to go.
When to Use a Vapor Retarder: Slab, Subfloor, and Climate
The substrate and the space above it decide the call, not personal preference.
- Concrete slab, on grade or below grade. These almost always need a Class I retarder under the subfloor or underlayment. Concrete wicks ground moisture upward for years, even in a slab poured a decade ago.
- Wood subfloor over an unconditioned space (a crawlspace or unheated basement). A Class II product is often the right fit here. It slows vapor drive without sealing the assembly so tight that trapped moisture has no way out.
- Wood subfloor over a conditioned space. Skip the retarder unless the flooring or adhesive manufacturer specifically calls for one. Adding a layer here does nothing but block drying.
- Radiant heat or unusually high ambient humidity. These are the exceptions that override the general rule, since heat cycling and elevated RH change how fast moisture moves through the assembly.
Climate zone matters too. The NAHB TechNote on vapor retarders notes that Class I products are generally discouraged outside cold climates, since they can block a wall or floor assembly’s ability to dry toward the warmer, wetter side.
Moisture Testing Requirements: ASTM F2170 and RH Limits
Skip the calcium chloride test kit and go straight to ASTM F2170 in-slab relative humidity testing for any concrete substrate. It measures moisture at the depth that actually matters, deep in the slab, rather than just at the surface, which is why most flooring and adhesive manufacturers now specify it in their warranty language.
Pro Tip: Calcium chloride tests only read surface-level moisture emission over about 72 hours. A slab can pass that test and still fail an ASTM F2170 reading, because the moisture hasn’t migrated to the surface yet.
The 75% threshold: Many manufacturers set their cutoff for installing hardwood over concrete at roughly 75–80% relative humidity. Above that range, you’re choosing between three paths.
- Proceed if the reading falls safely under the manufacturer’s stated limit.
- Apply topical mitigation, like an epoxy moisture-suppression coating or primer, if the slab reads high but a full cure delay isn’t practical.
- Delay and repair if RH readings are far outside limits, since a coating can’t fix an active leak or a slab that never cured properly.
Vapor Retarder Materials: Which Type Fits Your Floor
Product choice tracks installation method more than personal preference. Here’s how the common materials break down:
- Polyethylene sheeting, 4 to 6 mil, is the standard for solid hardwood nailed down over a slab. The NWFA’s underlayment guidance recommends a minimum 6-mil sheet meeting ASTM E1745 Class A under the plywood subfloor.
- Asphalt-saturated felt or laminated kraft paper works as underlayment for nail-down installs over a wood subfloor, particularly above unconditioned space.
- Closed-cell foam pads and combination underlayments pair with floating floors, adding cushioning and a built-in vapor-control layer in one product.
- Liquid-applied membranes and epoxy coatings handle high-RH slabs where a full cure delay isn’t an option, essentially sealing the moisture in place topically.
- “Smart” vapor retarders, which shift permeance based on ambient humidity, suit mixed-humid climates where a fixed Class I layer might trap moisture instead of blocking it.
Whatever you pick, confirm it against the adhesive or flooring manufacturer’s compatibility list before you buy. Mismatched pairings void warranties fast.
Installation Best Practices: Seams, Fasteners, and Radiant Heat
Getting the material right doesn’t help if the installation punches holes in it. Follow these in order:
- Overlap seams by at least 6 inches and tape them with a compatible seam tape. A gap in the sheet defeats the purpose of installing it at all.
- Run the sheet up the wall a few inches at the perimeter, then trim after the subfloor or flooring goes down. This closes the edge where slabs and walls meet, a common leak point.
- Never fasten through the retarder into the slab. Every nail or staple creates a moisture pathway. Use a floating plywood subfloor or sleepers instead, so fasteners go into wood, not concrete.
- Match adhesive to retarder. Some adhesives don’t bond properly to certain polyethylene films or foam-backed underlayments; check the manufacturer’s compatibility statement first.
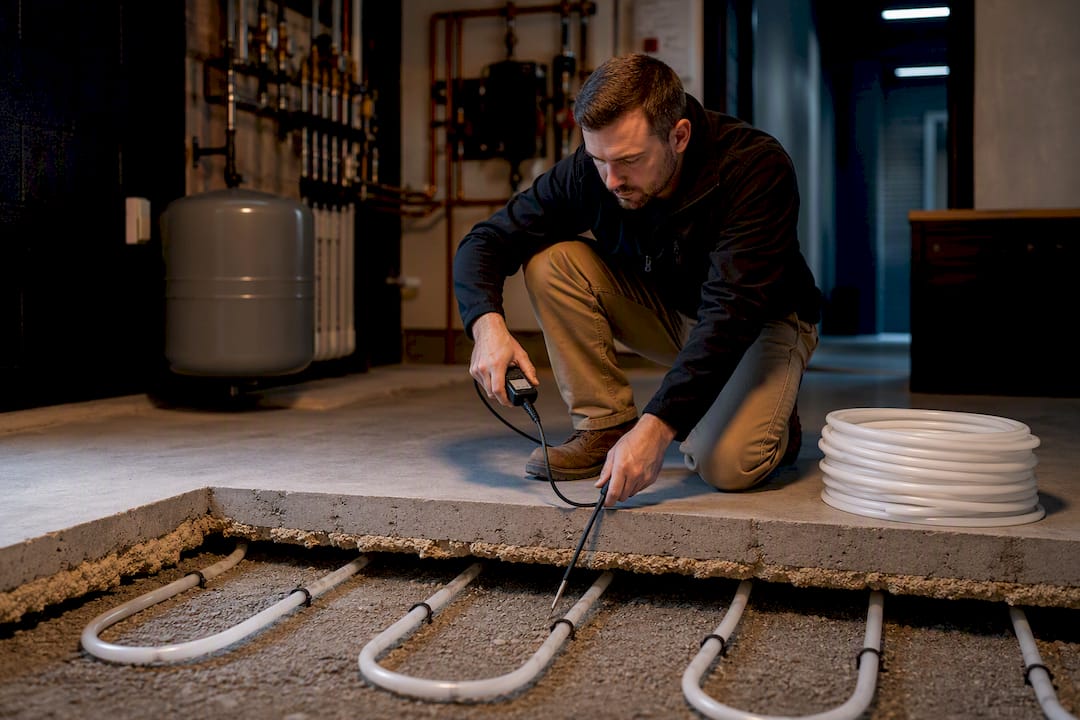
- For radiant heat systems, acclimate flooring longer and confirm the retarder tolerates the operating temperature range without degrading.
Pro Tip: If you’re unsure whether your subfloor plan needs sleepers, ask before ordering material. Reworking a floating subfloor after the retarder is down costs more than getting the layout right up front.
Radiant systems add a layer of complexity worth reading up on separately if that’s your project.
Common Vapor Retarder Mistakes That Cause Callbacks
Two mistakes account for most vapor-related failures homeowners and installers report.
- Doubling up barriers. Installing a Class I product on both sides of an assembly traps any incidental moisture that gets in, with no path to dry out. That trapped moisture leads to decay over time, not right away, which is why it often surfaces well after the warranty period starts.
- Using a retarder to mask an active leak. A vapor retarder slows vapor drive. It doesn’t fix a cracked slab, a failed drainage system, or a plumbing leak. Fix the moisture source first.
- Puncturing the sheet with fasteners or skipping RH testing because “the old floor was fine” are the two operational errors that show up again and again in warranty claims.
Choosing the Right Vapor Control Method for Your Floor
Start with your RH numbers, not your material preference.
- Measured substrate RH comes first. Everything downstream, including which retarder class you need, depends on that number.
- Match the method to the flooring type: nail-down solid hardwood needs a subfloor plus a Class I retarder over slab; glue-down engineered needs an adhesive-compatible retarder per the manufacturer’s own limits; floating floors need a compatible foam or combination underlayment.
- Ask for three things from any product you’re considering: the perm rating, the ASTM test method used to verify it, and a written compatibility statement covering your specific adhesive or subfloor.
Manufacturers set the controlling limits for their own products, and those instructions override generic industry rules of thumb every time.
Quick Pre-Install Checklist for Vapor Retarder Hardwood Projects
- Run ASTM F2170 slab RH testing (or the equivalent for your substrate) and keep the documented results on file.
- Confirm substrate type and condition, and resolve any active moisture source before moving forward.
- Select a retarder and adhesive, or underlayment, that meet the flooring manufacturer’s specifications.
- Lay the retarder per instructions: overlap seams, tape them, and avoid any fastener penetration.
- Acclimate the flooring to the room’s conditions before installation day.
Quality Hardwoods of Michigan: Practical Tips and Product Availability
Forty-plus years of distributing flooring materials teaches you that moisture problems get expensive fast when skipped at the testing stage. Quality Hardwoods of Michigan, Inc stocks retarders, adhesives, and underlayments across those categories, and our team can talk through humidity targets, acclimation timing, and adhesive pairing before you commit to a subfloor plan.
When to Call a Pro for Vapor Retarder Hardwood Work
Test first, follow the manufacturer’s stated RH limits, and never stack two vapor barriers in one assembly. Most straightforward slab-over-grade jobs are manageable for an experienced installer. Call a professional when slab RH readings run high, the install is below grade, or radiant heat adds a layer of complexity that a standard product spec sheet doesn’t cover.
— Mike Solomich
Get the Right Vapor Retarder and Flooring Materials in One Stop
Quality Hardwoods of Michigan, Inc saves you the trouble of chasing vapor retarders, adhesives, and flooring from three different suppliers. We stock the underlayments, moisture-control materials, and adhesive lines that pair correctly with each other, so you’re not stuck matching specs across separate vendors after your RH test comes back.

Once you’ve got your slab RH numbers, browse our full flooring products catalog for compatible underlayments and adhesives, or look at hardwood options built for new construction if you’re starting from a bare slab. Stop by the showroom with your test results, and we’ll help you land on the right retarder and installation method for the project in front of you.
Sources
- BSD-106 Understanding Vapor Barriers — BuildingScience
- Installing a Hardwood Floor Over a Concrete Slab — American Hardwood Information Center
- NAHB TechNote: Vapor retarders
- Which moisture barrier to use under each flooring type — IFTI
FAQ
Should you put a vapor barrier under hardwood floors?
Only over concrete slabs or unconditioned spaces where moisture testing shows it’s needed. Over a normal conditioned wood subfloor, adding one usually isn’t necessary and can trap moisture instead of blocking it.
What is the best vapor retarder for hardwood floors?
For solid hardwood nailed over a slab, 6-mil polyethylene meeting ASTM E1745 Class A is the standard recommendation. For glue-down engineered floors, follow whatever the adhesive manufacturer specifies, since that pairing controls the warranty.
When should you not use a vapor retarder?
Skip it over a conditioned wood subfloor unless the manufacturer requires one, and never stack a second retarder on top of an existing one. Doubling barriers traps incidental moisture with no way to dry out.
Is plywood a vapor retarder?
No. Plywood is moisture-resistant to a degree, but it isn’t rated as a Class I, II, or III vapor retarder on its own. It needs a separate sheet product or membrane beneath it when the substrate calls for one.