
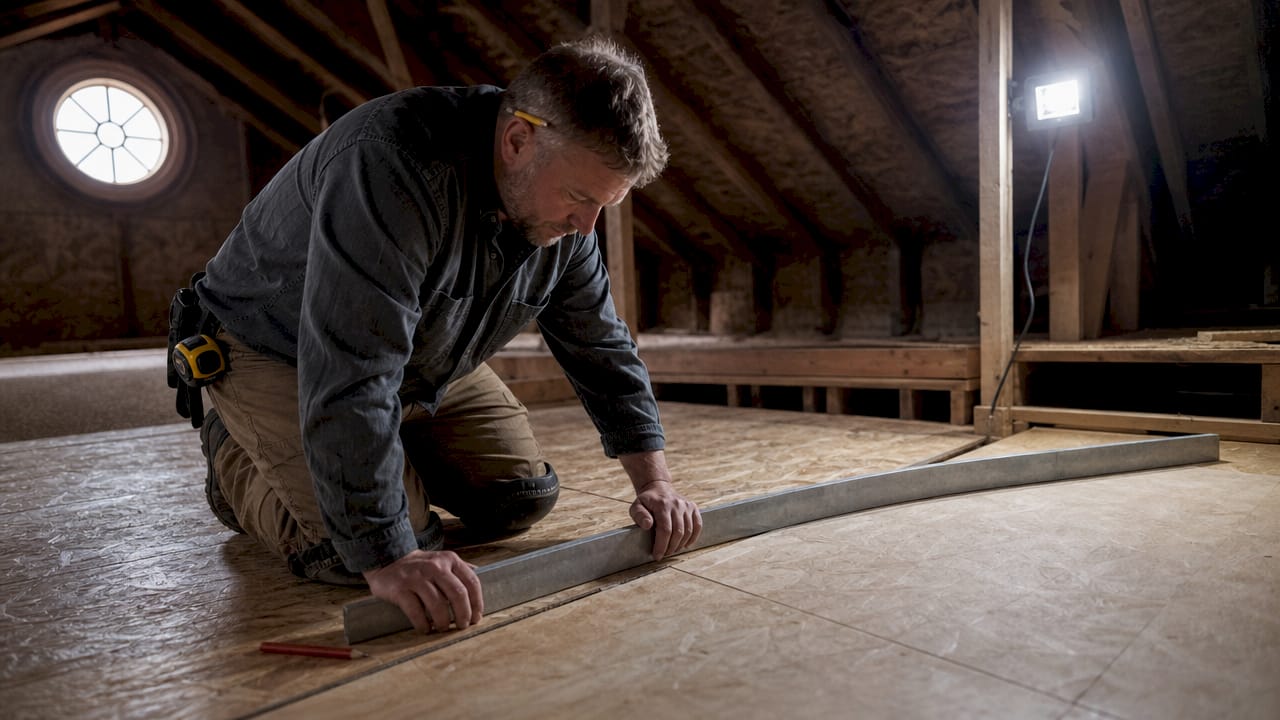
Hardwood flooring subfloor requirements are the structural and environmental specifications your subfloor must meet before any hardwood installation begins. The National Wood Flooring Association (NWFA) and ASTM standards define these requirements around three non-negotiable factors: flatness, moisture control, and minimum thickness. Get any one of these wrong, and 90% of hardwood flooring failures trace back to improper subfloor preparation. This guide covers every specification you need, whether you are working over a wood frame or a concrete slab.
What are the flatness requirements for hardwood flooring subfloors?
The NWFA defines the flatness standard as no more than 3/16 inch variation over 10 feet, or 1/8 inch over any 6-foot span. These tolerances are not suggestions. They are the threshold below which boards begin to flex, squeak, and separate at the joints.
An uneven subfloor creates three specific problems:
- Squeaking: Boards flex against fasteners or adjacent boards when the subfloor dips or rises.
- Bonding failure: Adhesive loses contact with the board face in low spots, causing delamination over time.
- Board movement: High spots concentrate stress on individual boards, leading to cracking or cupping at the edges.
Wider planks are less forgiving than strip flooring. A 5-inch plank will rock on a 3/16-inch ridge that a 2-inch strip would bridge without issue. Flatness beyond tolerance causes squeaks and adhesive failure even when every other installation step is correct.
To measure flatness, use a 10-foot straightedge or a long level laid flat across the subfloor. Mark every high and low spot with chalk. High spots get sanded or planed down. Low spots get filled with a floor-rated patching compound, not standard wood filler. Standard wood fillers compress under traffic and fail within months.
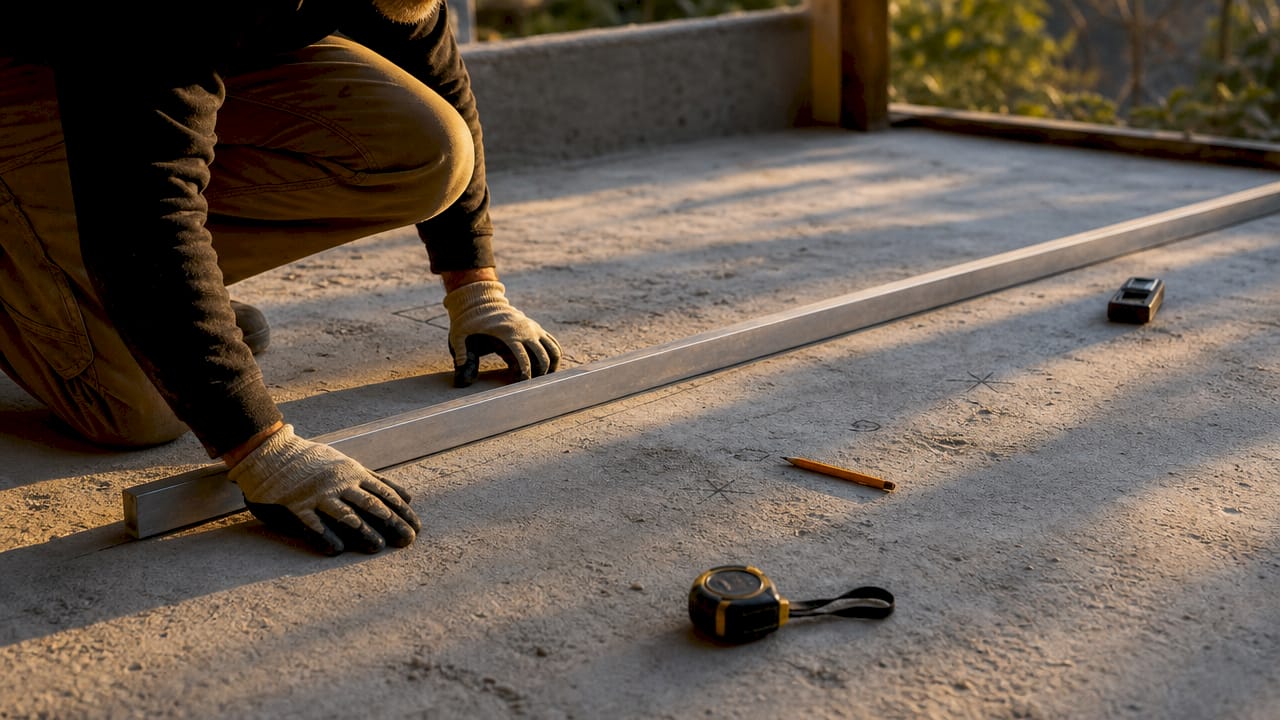
Pro Tip: Use a 6-foot straightedge in addition to the 10-foot one. The NWFA’s dual tolerance catches localized dips that a longer tool can skip over.
What are the moisture requirements and testing procedures for hardwood subfloors?
Moisture is the single biggest threat to a hardwood floor after installation. Wood moves with humidity, and a subfloor that is too wet will transfer that moisture directly into your new floor.
The requirements differ by subfloor type:
- Wood subfloors: Moisture content must stay below 12% MC. The moisture content difference between the subfloor and the hardwood being installed must be within 4% for strip flooring and within 2% for wider planks. Simply reading “dry” on a meter is not enough. The gap between the two readings is what matters.
- Concrete subfloors: Two test methods apply. ASTM F2170 measures relative humidity (RH) inside the slab using in-situ probes. The limit is below 75% RH. ASTM F1869 measures moisture vapor emission rate (MVER), with a limit of 3 lbs per 1,000 sq ft per 24 hours.
- New concrete slabs: These must cure for a minimum of 60 days before testing. Testing before that point produces unreliable readings because the slab is still releasing construction moisture.
- Acclimation: Stack hardwood flooring in the installation room for the time recommended by the manufacturer, typically several days to a week or more. The goal is moisture content equilibrium between the wood and the environment.
Ignoring these thresholds causes cupping, where board edges rise above the center, crowning, where the center rises above the edges, and buckling, where boards lift entirely off the subfloor. All three are expensive to fix and almost always preventable.
Pro Tip: Test concrete moisture in multiple locations across the slab. Moisture levels vary significantly near exterior walls, drains, and areas with prior water exposure.
How thick should a subfloor be for hardwood flooring?
Subfloor thickness for hardwood is determined by joist spacing, not by the hardwood product alone. The table below shows the standard minimums.
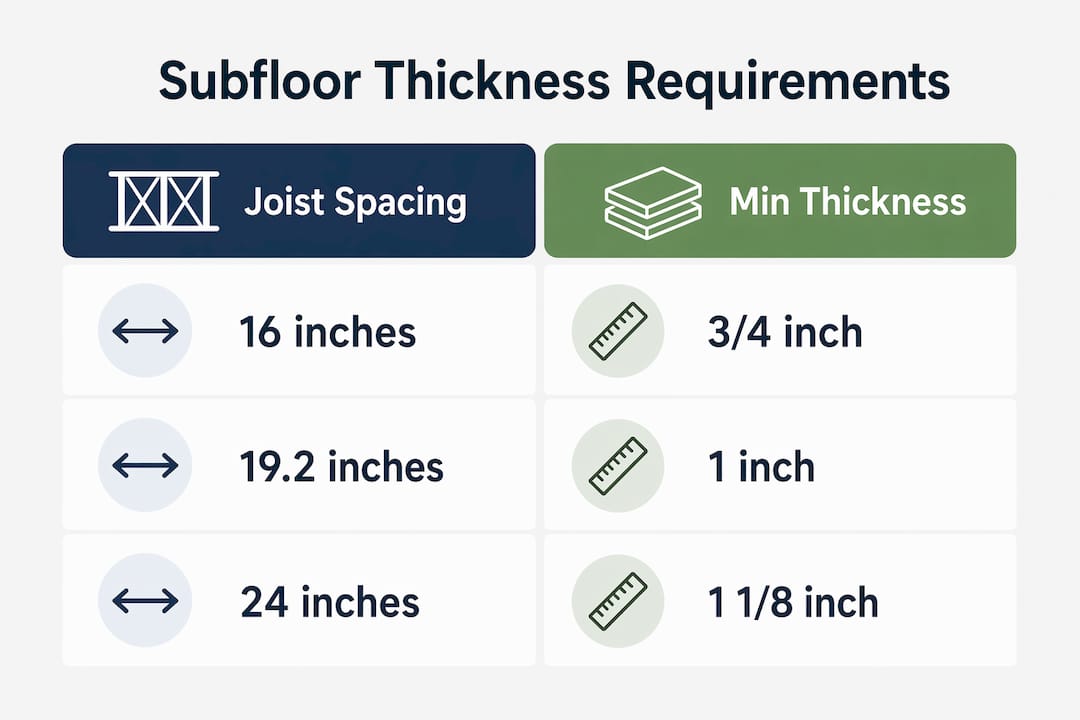
| Joist spacing | Minimum subfloor thickness | Suitable for |
|---|---|---|
| 16 inches on center | 3/4 inch plywood or OSB | Solid and engineered hardwood |
| 19.2 inches on center | 7/8 inch plywood or OSB | Solid and engineered hardwood |
| 24 inches on center | 1-1/8 inch plywood or OSB | Engineered hardwood preferred |
The 3/4-inch minimum for 16-inch joist spacing is the most common configuration in American residential construction. Wider joist spacing reduces subfloor stiffness, which causes floor bounce even when the subfloor technically meets code. Bounce is not just uncomfortable. It breaks adhesive bonds and loosens fasteners over time.
Plywood outperforms OSB in wet or humid conditions. OSB swells at the edges when exposed to moisture and can telegraph ridges through the finished floor. For nail-down installations, 3/4-inch exterior grade plywood installed at a 45-degree angle to the floor joists is the standard. The diagonal orientation distributes load more evenly and reduces flex between joists.
Engineered hardwood tolerates slightly more subfloor flex than solid hardwood because of its cross-ply construction. That said, meeting the minimum thickness is still required. Wider engineered planks may need an additional underlayment layer to increase stiffness beyond the structural minimum. You can learn more about how engineered flooring differs in its structural demands from solid wood.
What are best practices for preparing wood and concrete subfloors?
Subfloor preparation is where most DIY installations go wrong. The steps differ significantly between wood and concrete.
Wood subfloor preparation
- Walk the entire subfloor and mark every squeak. Drive screws through the subfloor into the joists at those points. Nails back out over time; screws do not.
- Replace any panel with visible water damage, soft spots, or delamination. Visibly damaged plywood compromises structural integrity and cannot be patched.
- Sand or plane any ridge above 3/16 inch. Pay close attention to panel seams, where OSB or plywood edges often swell slightly.
- Fill low spots and voids with a floor-rated patching compound. Allow full cure time before proceeding.
- Install a vapor retarder such as 15-pound asphalt felt paper with 4-inch overlapping laps. This layer slows moisture transfer from below without trapping vapor.
Concrete subfloor preparation
Concrete requires a different approach because it cannot accept fasteners and holds moisture for much longer than wood.
- Test moisture using ASTM F2170 or ASTM F1869 before any other step. Do not skip this even if the slab looks and feels dry.
- New slabs need at least 60 days of curing. Schedule your installation timeline around this, not around your delivery date.
- Grind down high spots with a concrete grinder. Do not use a belt sander. It will not cut concrete effectively.
- Fill low spots with a floor-rated self-leveling compound. Standard concrete patching products are too rigid and crack under the movement of a wood floor.
- Apply a moisture barrier or vapor retarder rated for flooring applications before any wood product touches the slab.
The installation method also shapes your prep work. Nail-down requires a wood subfloor. Glue-down works over concrete with proper moisture management. Floating floors need a flat surface and a foam or cork underlayment for expansion and sound control.
How do installation methods affect subfloor requirements?
Each installation method carries its own subfloor demands. Choosing the wrong method for your subfloor type is one of the most common and costly mistakes in hardwood installation.
- Nail-down: Requires a wood subfloor at least 3/4 inch thick. The fastener must penetrate into solid material, not just the surface layer. This method does not work over concrete without first installing a plywood subfloor or raised sleeper system over the slab.
- Glue-down: The preferred method for concrete slab installations. The adhesive bonds directly to the slab, but the slab must pass moisture testing and meet the 3/16-inch flatness standard. Using the wrong adhesive or skipping moisture testing causes bond failure within months.
- Floating: Works over both wood and concrete. The floor is not fastened to the subfloor at all. It requires a flat surface and a continuous underlayment layer for cushion, expansion room, and noise reduction. Floating floors amplify subfloor imperfections more than other methods because there is no adhesive or fastener to hold boards flat.
You can review a detailed breakdown of hardwood installation methods to match your subfloor type to the right approach before purchasing materials.
Pro Tip: Never nail or staple a new hardwood floor directly over an existing wood floor without first checking the combined thickness and confirming the subfloor below still meets flatness tolerances. Stacking floors adds height and can hide serious problems.
Key takeaways
Proper subfloor preparation prevents the vast majority of hardwood flooring failures, making it the most important phase of any installation project.
| Point | Details |
|---|---|
| Flatness tolerance | Subfloor must not vary more than 3/16 inch over 10 feet or 1/8 inch over 6 feet. |
| Moisture limits | Wood subfloors stay below 12% MC; concrete stays below 75% RH or 3 lbs MVER per 1,000 sq ft. |
| Minimum thickness | 3/4-inch plywood or OSB for 16-inch joist spacing; thicker panels required for wider spacing. |
| Concrete prep | New slabs cure at least 60 days; test with ASTM F2170 or ASTM F1869 before installation. |
| Installation method match | Nail-down needs wood subfloor; glue-down suits concrete; floating requires flat surface and underlayment. |
What I’ve learned from watching subfloor mistakes play out
After years of working with flooring projects across Michigan, the pattern is consistent. Homeowners and contractors who skip subfloor prep do not see the consequences immediately. The floor looks fine on day one. The problems show up six months later when the humidity shifts and the boards start cupping, or when a section of the floor develops a persistent squeak that no amount of surface repair will fix.
The most common miss I see is treating thickness as the only metric that matters. A 3/4-inch subfloor over 24-inch joist spacing will bounce. It meets the thickness number but fails the stiffness test. Stiffness depends on thickness, joist spacing, and how well the panels are fastened together. All three have to be right.
The second most common miss is moisture. Contractors test the concrete once, get a passing reading, and move on. But a single reading in the center of a slab tells you nothing about the corner near the exterior wall or the area above a crawl space. Moisture is not uniform. Test in multiple spots, and test again after any weather event that could have changed conditions.
Acclimation gets rushed more than any other step. Stacking flooring in a garage for two days is not acclimation. The wood needs to reach moisture content equilibrium with the room it will live in. That takes time, and cutting it short is how you end up with a floor that gaps in winter and buckles in summer.
The subfloor is not a detail. It is the foundation. Spend the time and money to get it right before the first board goes down.
— Mike Solomich
Quality Hardwoods of Michigan, Inc has the products and expertise you need
Choosing the right flooring product starts with knowing your subfloor. Quality Hardwoods of Michigan, Inc has served contractors and homeowners across Michigan for over 40 years with a full range of hardwood flooring, vinyl flooring options, laminate, and the installation materials to support every subfloor type.

Whether you are working over a wood frame or a concrete slab, the team at Quality Hardwoods of Michigan, Inc can help you match the right product to your subfloor conditions. Visit the showroom or browse the full product catalog at qualityhardwood.com to get expert guidance before your next installation.
FAQ
What is the minimum subfloor thickness for hardwood flooring?
The minimum is 3/4 inch for plywood or OSB when joists are spaced 16 inches on center. Wider joist spacing requires thicker panels, up to 1-1/8 inch for 24-inch spacing.
Can you install hardwood flooring directly on a concrete subfloor?
Solid hardwood cannot be nailed directly to concrete. You need a raised sleeper system or a plywood underlayment layer first. Engineered hardwood can be glued directly to concrete after moisture testing and leveling.
How do you test moisture in a concrete subfloor before hardwood installation?
Use ASTM F2170 in-situ probes to measure relative humidity inside the slab, or ASTM F1869 calcium chloride tests to measure moisture vapor emission. The slab must read below 75% RH or below 3 lbs per 1,000 sq ft per 24 hours.
How flat does a subfloor need to be for hardwood floors?
The NWFA standard requires no more than 3/16 inch variation over 10 feet and no more than 1/8 inch over any 6-foot span. Floors outside this tolerance squeak, crack adhesive bonds, and cause board movement.
Does the type of hardwood affect subfloor requirements?
Yes. Wider planks require tighter moisture content tolerances, within 2% between subfloor and hardwood versus 4% for strip flooring. Wider boards also need a stiffer subfloor and are less forgiving of flatness variations than narrow strip products.