
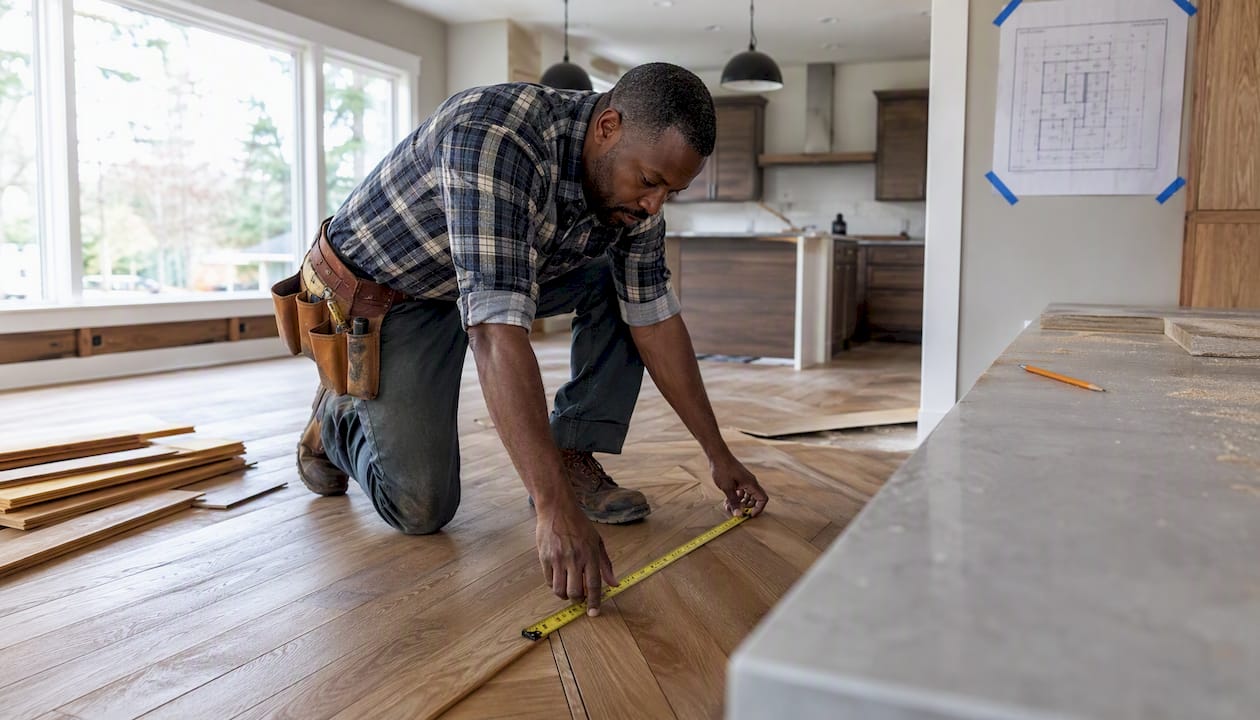
The fastest way to cut material waste on flooring jobs is to calculate a job-specific waste percentage, order whole-case quantities from the same dye lot, and use layout techniques that maximize reuse of offcuts. The formula is simple: Net Area × (1 + Waste %) = Total Material to Order. Round up to the nearest full box every time.
Three things to do before you leave the job site:
- Measure each room separately and record the net square footage.
- Choose your run direction and note whether the layout is straight, diagonal, or patterned.
- Check the box coverage printed on the carton and confirm the dye lot number.
The generic “10% rule” is outdated for most projects. A herringbone hardwood install in an L-shaped room needs a fundamentally different allowance than a straight-lay LVP job in a rectangle. This guide gives you the per-material numbers, a worked example, and client-ready estimate language to build waste allowances into quotes without losing bids.
Table of Contents
- What’s the difference between waste and cut-allowance?
- What waste percentage should you use by material?
- How do you calculate and order the right amount?
- How should you present waste in a client estimate?
- Which installation techniques actually reduce cut waste?
- How do you prevent waste from handling and storage damage?
- How can you get value from leftover offcuts?
- How do you track actual waste and improve future estimates?
- What are the most common waste mistakes contractors make?
- A ready-to-use worksheet and worked example
- Key Takeaways
- The case for tighter bids and smarter allowances
- Why sourcing from one distributor reduces your waste risk
- Useful sources
- FAQ
What’s the difference between waste and cut-allowance?
Contractors use these two terms interchangeably, but they mean different things on paper and in client conversations.
Waste refers to material that cannot be reused: damaged pieces, unusable slivers from cuts, and defects pulled from the box. Cut-allowance (sometimes called material overage) is the planned extra you order to account for cuts at walls, doorways, and pattern matching. Cut-allowance is predictable and controllable. Waste is not always either.
Why does the label matter? When a client sees a line item called “waste,” they push back. When they see “material allowance for cut overage,” they understand it as a standard part of the installation process. That one wording change prevents a lot of scope disputes.
- Use “waste” internally, in your waste log and crew briefings.
- Use “material allowance” or “cut-overage allowance” in client-facing proposals.
- Never absorb the allowance silently into labor. If a second delivery becomes necessary, you need the paper trail showing the allowance was always a material cost.
Pro Tip: In your proposal, write it this way: “Material allowance for cut waste and edge overage: [X sq ft] at [material rate]. This is standard for [layout type] installations and is included in the material subtotal.” Clients rarely question it when it’s explained in one sentence.
What waste percentage should you use by material?
The generic 10% rule is outdated for many projects. Modern estimating requires granular, material-specific percentages that account for layout and pattern complexity. Here are the ranges experienced installers use:

| Material | Straight Lay | Diagonal | Herringbone / Chevron | Pattern Repeat | Notes |
|---|---|---|---|---|---|
| Solid hardwood | 5–10% | 15% | 15–20% | +15–30% on top | NWFA baseline is 5% straight |
| Engineered hardwood | 5–10% | 15% | 15–20% | +15–30% on top | Wide planks add 3–5% |
| LVP / LVT | 7–10% | 8–15% | 15–20% | +10–15% on top | Consistent sizing helps |
| Laminate | 7–10% | 8–15% | N/A typical | +10–15% on top | Short rooms increase waste |
| Ceramic / porcelain tile | 10% | 15–20% | 20%+ | +15–30% on top | Large-format adds 3–5% |
| Natural stone | 10–15% | 15–20% | 20%+ | Varies | High breakage risk |
| Carpet | 5–10% | N/A | N/A | Pattern match +10–15% | Seam placement drives waste |
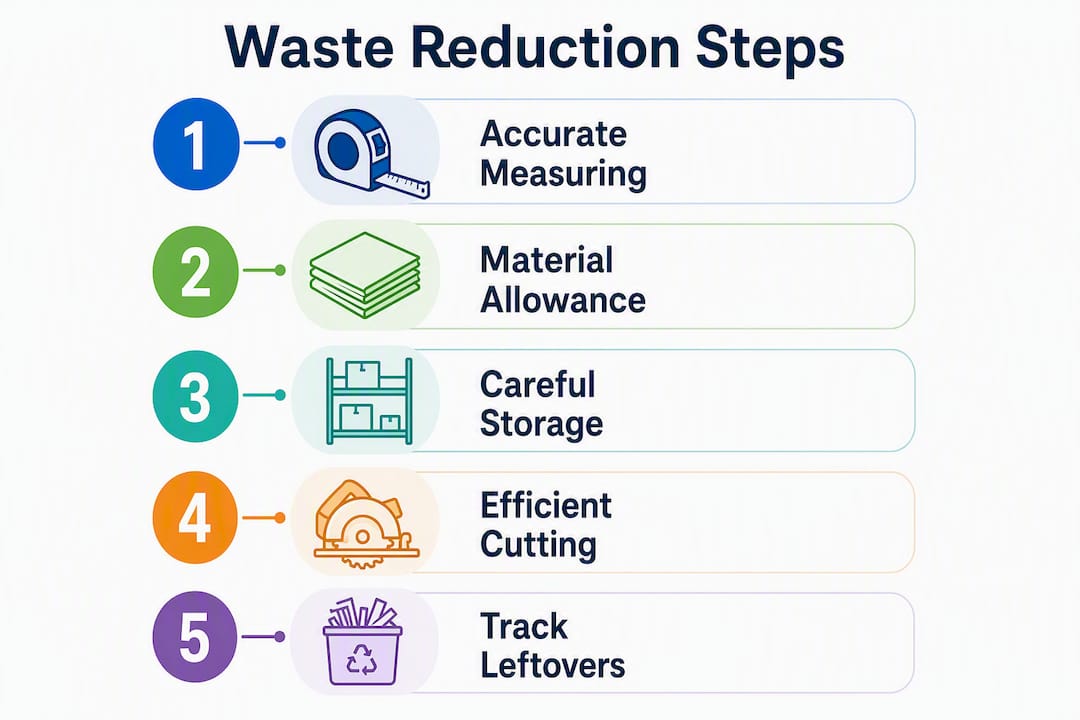
A few scenarios worth calling out specifically. Diagonal layouts add roughly 5–10% to any base percentage because every edge cut produces a triangle of unusable material. Herringbone and chevron patterns stack on top of that, and if the material also has a pattern repeat (wood-look tile with a grain cycle, for example), you can be looking at 30–45% total overage on a complex job. Wide planks and large-format tiles add another 3–5% because a single bad cut wastes more material per piece.
Stacking add-ons is where most contractors underestimate: diagonal layout plus a pattern repeat is not 15% plus 15%. You apply the base percentage first, then add the pattern repeat on top of the resulting total. The math compounds, not adds.
How do you calculate and order the right amount?
Follow these steps in order. Skipping one is how second deliveries happen.
- Measure each room separately. Record the net square footage (length × width) for every room, closet, hallway, and stair landing. Do not combine rooms into a single total yet.
- Choose your run direction. Straight, diagonal, or patterned? Lock this in before you calculate. Changing direction after ordering is expensive.
- Assign a waste percentage to each room. Use the table above. A rectangular bedroom with straight-lay LVP gets 8%. A diagonal hardwood entry with a pattern repeat gets 30%+.
- Apply the formula room by room. Net Area × (1 + Waste %) = Total sq ft to order for that room. For multi-room projects, calculate waste room-by-room rather than using a single blended percentage. A blended average under-orders for the complex zones.
- Add all room totals together. This is your gross order quantity in square feet.
- Convert to boxes. Divide gross sq ft by the coverage per carton printed on the box. Round up to the nearest whole box every time, even if you only need two extra square feet.
- Confirm dye lot. Order all material from the same dye lot in one purchase. Dye-lot variation between batches is visible in natural light, and clients notice.
Worked example
A 500 sq ft living room, straight-lay engineered hardwood, 8% waste allowance. Box coverage: 20 sq ft per carton.
- Net area: 500 sq ft
- Total to order: 500 × 1.08 = 540 sq ft
- Boxes needed: 540 ÷ 20 = 27 boxes exactly
- Round up: 27 boxes (no rounding needed here, but if the result were 27.3, you’d order 28)
Now add a hallway: 80 sq ft, diagonal layout, 15% waste.
- Hallway total: 80 × 1.15 = 92 sq ft
- Combined gross: 540 + 92 = 632 sq ft
- Boxes: 632 ÷ 20 = 31.6 → order 32 boxes
Pre-order checklist
Before you place the order, confirm every item on this list:
- Box coverage per carton (sq ft)
- Dye lot number for every carton
- Lead time and expected delivery date
- Supplier return policy for unopened boxes
- Stair tread and riser quantities calculated separately
- Threshold and transition piece counts
- Backorder status on the specific SKU
How should you present waste in a client estimate?
Build the waste allowance into the initial quote as a separate material line item, not buried in labor. This protects your margin and gives you a paper trail if a second delivery is needed.
Here is what a clean estimate snippet looks like:
| Line Item | Qty | Unit | Rate | Total |
|---|---|---|---|---|
| Engineered hardwood — net area | 500 sq ft | sq ft | — | — |
| Material allowance (8% cut overage) | 20 sq ft | sq ft | — | — |
| Labor — installation | 500 sq ft | sq ft | — | — |
Never roll the material allowance into the labor rate. If you charge $4.50/sq ft labor to cover a hidden waste cost and the client later asks for a labor-only breakdown, you’re exposed. Keeping it as a material line item is cleaner and more defensible.
For complex layouts, justify the higher allowance in one sentence on the estimate: “Diagonal installation requires a 15% material allowance per industry standard.” Most clients accept that without negotiation. If they push back, offer to show them the cut diagram from your dry-lay plan. Seeing the actual offcuts on paper ends the conversation.
One thing to avoid: offering to “absorb” the waste allowance to win a bid. You’re not absorbing it. You’re hiding it in your margin, and when the job runs long or material runs short, you eat the cost twice.
Which installation techniques actually reduce cut waste?
Estimating gets you to the right number on paper. These techniques get you closer to that number on the job.
- Run direction: Parallel to the longest wall in the room reduces the number of end cuts. Perpendicular to the longest wall maximizes them.
- Starter row planning: Measure the room width and calculate whether your last row will be less than half a plank wide. If it is, rip the starter row narrower so the finish row is at least half-width. This avoids a thin, fragile strip at the wall and often saves a full row of material.
- End-matching and alternating row lengths: Start rows at different points in the plank length cycle. This staggers joints naturally and lets you use drop pieces from one row as starters for the next, provided the piece is at least 6–8 inches long (check your manufacturer’s minimum).
- Prefabricating stair pieces: Cut all stair treads and risers from a single session before starting the field. This lets you optimize cuts across the full stair run and use the offcuts in closets or low-visibility areas.
- Doorway and threshold planning: Map every doorway before you start. Cuts at doorways are often the most wasteful because the piece has to fit a specific width. Knowing the doorway widths in advance lets you plan which plank lengths to cut there.
Wide planks (5 inches and wider) waste more per bad cut than narrow planks. A 7-inch plank cut wrong at a doorway throws away more material than a 3-inch strip would. With wide planks, dry-laying the first two or three rows before cutting anything is worth the extra 20 minutes.
Pro Tip: Before making a single cut on a complex room, do a full dry-lay from wall to wall. Mark every cut line with tape. You’ll see your waste hotspots before they happen, and you can shift the layout by an inch or two to save a full plank at the far wall.
How do you prevent waste from handling and storage damage?
A significant portion of job-site waste has nothing to do with cutting. It comes from damaged material that never made it to the floor.
Storage best practices:
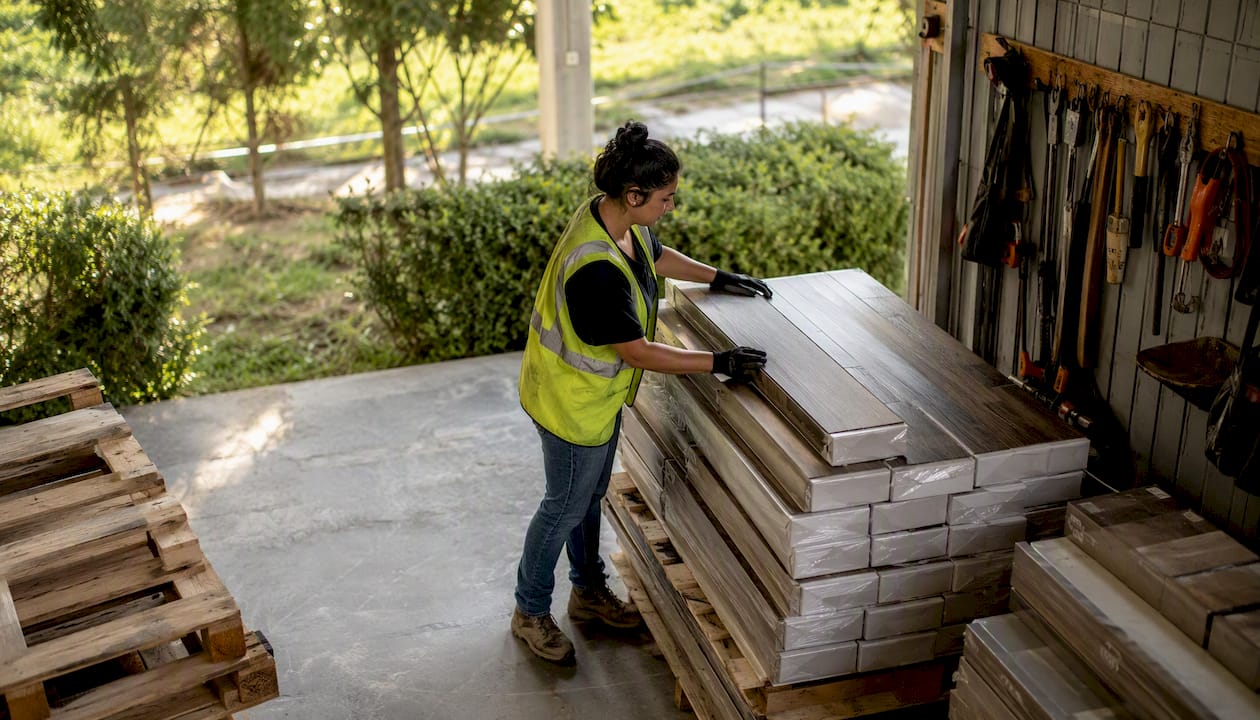
- Store cartons flat, never on edge. Planks stored on edge warp.
- Keep material off concrete. Use pallets or sleepers to allow air circulation underneath.
- Acclimate the material in the installation space for the manufacturer’s recommended period before opening cartons. For most hardwood, that’s 3–5 days at the job site’s temperature and humidity.
- Keep cartons sealed until you’re ready to install that room. Opening all boxes at once exposes material to site conditions and increases damage risk.
- Label every carton with the room assignment and dye lot number before staging.
Crew handling rules matter just as much as storage. Designate a single staging area for material, and run protective runners on any route between staging and the work area. A plank dropped on a concrete subfloor from waist height often chips an edge, and that piece becomes waste. One crew member responsible for material transport (rather than everyone grabbing from the pile) reduces handling incidents noticeably.
On returns: check your supplier’s return policy before the job starts, not after. Most distributors accept unopened cartons within a set window. Knowing that window lets you hold one or two extra boxes without risk, then return them if the job comes in clean.
How can you get value from leftover offcuts?
Offcuts are not trash. Treated correctly, they’re future revenue.
- Thresholds and transitions: Offcuts from hardwood or engineered jobs often yield enough material for T-moldings, reducers, and end caps. Cutting your own transitions from job material matches the dye lot perfectly.
- Stair nosing: Longer offcuts from wide-plank jobs can be routed into stair nosing. This saves the cost of a separate nosing product and guarantees a color match.
- Patch stock: Keep a labeled box of offcuts for every job, tied to the job name and dye lot. When a client calls six months later with a damaged plank, you have a match ready. That’s a service call you can charge for instead of scrambling.
- Sample boxes: A few clean offcuts in a small box make a useful leave-behind for the client. They can use them to match paint or show the floor to a furniture store.
- Contractor repair inventory: For materials you install regularly, accumulate a small stock of same-lot offcuts. Warranty repairs on your own past jobs become fast and free instead of a sourcing problem.
Logging leftover material is the step most contractors skip. After every job, record the job name, material SKU, dye lot, and approximate square footage of usable offcuts. A simple spreadsheet works. When a repair call comes in, you search by SKU and dye lot and pull from stock instead of calling a distributor and hoping the lot is still available.
A practical scenario: on a 600 sq ft hardwood job with a 10% allowance, you order 660 sq ft. If the install comes in at 615 sq ft used, you have 45 sq ft of material left. That’s two full cartons in many product lines. One goes to the client as repair stock. One stays in your inventory, labeled and stored flat.
How do you track actual waste and improve future estimates?
Estimating waste percentages from memory is how you repeat the same mistakes. A simple waste log turns job experience into data.
- Set up the log before the job starts. Fields to capture: job name, room, material SKU, dye lot, sq ft ordered, sq ft installed, sq ft leftover, and a notes column for cause of waste (pattern mismatch, damage, layout change).
- Record actuals at job completion. Count leftover cartons and estimate usable offcut square footage. This takes about 10 minutes per job.
- Calculate realized waste percentage. Formula: (Sq ft ordered − Sq ft installed) ÷ Sq ft ordered = Realized waste %. Compare this to your estimated waste %.
- Review logs quarterly. Look for patterns. Are you consistently over-ordering on LVP straight-lay? Are diagonal hardwood jobs always coming in close to your estimate? Adjust your standard percentages accordingly.
- Update your estimating template. If your log shows that your crew consistently achieves 7% realized waste on straight-lay LVP (versus the 10% you’ve been quoting), you can tighten the allowance and sharpen your bids without taking on more risk.
Integrating this with estimating software is straightforward. Tools like STACK, Buildertrend, or a custom Google Sheets template can hold your waste log and feed your standard percentages into new estimates automatically. The key is consistency: log every job, not just the ones that went wrong.
What are the most common waste mistakes contractors make?
Most waste overruns trace back to a short list of recurring errors.
- Using a blanket 10% on every job. A straight-lay LVP rectangle needs 7–8%. A diagonal herringbone hardwood with a pattern repeat needs 30%+. One number does not fit both.
- Ignoring pattern repeat. A tile with a 24-inch pattern repeat requires significantly more material than the same tile in a random layout. The repeat forces specific cut positions that generate larger offcuts.
- Not rounding to full boxes. Ordering 27.3 boxes and rounding down to 27 leaves you 6 sq ft short. That means a second order, a potential dye-lot mismatch, and a delay.
- Forgetting stair calculations. Stairs are a separate calculation. Treads, risers, and nosing each have their own waste factor. Lumping them into the room total under-orders for the stairs and over-orders for the field.
- Poor site storage. Warped, chipped, or moisture-damaged material from improper storage is pure waste with no estimating fix.
- Ordering from multiple dye lots. Even when the color looks identical in the store, two dye lots will show variation under natural light. Keep one unopened box from the same dye lot for future repair work; reordering piecemeal risks visible color variation.
Red-flag checklist before ordering or starting work:
- More than one room with different layout directions? Calculate each separately.
- L-shaped or irregular floor plan? Add 3–5% to your base waste percentage.
- More than three doorways in a single room? Account for each cut individually.
- Inconsistent plank lengths in the product? Check the manufacturer’s stagger requirements.
- Pattern repeat on tile or wood-look LVP? Add the pattern repeat percentage on top of your base.
- Stairs included in the scope? Calculate treads and risers as a separate line.
A ready-to-use worksheet and worked example
The worksheet below gives you a repeatable structure for every job. Copy it into your estimating template or proposal software.
Worksheet fields:
- Room name and dimensions (length × width = net sq ft)
- Material selected (SKU, product name)
- Layout direction (straight / diagonal / herringbone)
- Base waste % (from material table)
- Pattern repeat add-on % (if applicable)
- Total waste % applied
- Gross sq ft to order (Net × (1 + Waste %))
- Box coverage per carton
- Boxes to order (rounded up)
- Dye lot number confirmed (Y/N)
- Threshold and transition pieces (separate count)
Multi-room worked example
A contractor is installing engineered hardwood in three rooms. Here’s the room-by-room breakdown:
| Room | Net Sq Ft | Layout | Waste % | Gross Sq Ft | Box Coverage | Boxes |
|---|---|---|---|---|---|---|
| Living room | 500 | Straight | 8% | 540 | 20 sq ft | — |
| Dining room | — | Diagonal | 15% | — | 20 sq ft | — |
| Hallway | — | Straight | 10% | — | 20 sq ft | 4 |
| Total | 640 | Blended ~10% | — | — |
If this contractor had applied a flat 10% to the combined 640 sq ft, the gross order would be 704 sq ft, or 36 boxes. That is one box short for the diagonal dining room, which is the room most likely to run tight. Calculating room by room surfaces that gap before it becomes a problem.
Sample proposal paragraph (paste into your quote):
“Material quantities include a room-specific cut-overage allowance ranging from 8% to 15% depending on layout complexity. This is standard for the installation types specified and is itemized as a material cost. All material will be ordered from the same production lot to guarantee color consistency throughout the project and for any future repairs.”
Quality Hardwoods of Michigan, Inc publishes installation guides and contractor resources covering product specs, finish compatibility, and ordering guidance that support this kind of precise estimating.
Key Takeaways
Precise, room-by-room waste calculation combined with whole-box ordering from a single dye lot is the single most reliable way to protect margins and avoid costly second deliveries on flooring jobs.
| Point | Details |
|---|---|
| Use the formula every time | Net Area × (1 + Waste %) = Total to order; round up to the nearest full box, no exceptions. |
| Match waste % to material and layout | Straight LVP needs 7–10%; diagonal hardwood needs 15%; herringbone with pattern repeat can reach 30%+. |
| Calculate room by room | A blended percentage under-orders for complex rooms; calculate each space separately before combining. |
| Label and log offcuts | Record SKU, dye lot, and usable sq ft after every job to build a repair inventory and sharpen future estimates. |
| Quality Hardwoods of Michigan, Inc | Ordering all material from one distributor in a single dye-lot pull reduces color-variation risk and simplifies the pre-order checklist. |
The case for tighter bids and smarter allowances
There’s a tension in this work that no formula fully resolves. You want to bid tight enough to win the job, but conservative enough that you don’t eat a second delivery or a dye-lot mismatch six months later when the client calls about a damaged plank.
The contractors who get this right are not the ones who always use 10% and hope for the best. They’re the ones who’ve built a waste log, reviewed it, and know from their own data that their crew hits 7% on straight-lay LVP and 14% on diagonal hardwood. That’s not guesswork. That’s a competitive advantage.
The bigger mistake I see is not the percentage itself. It’s treating the waste allowance as a negotiating chip. When a client pushes back on the material allowance, some contractors fold and absorb it into labor. That’s how you end up with a job that looks profitable on paper and loses money in the field. The allowance is not padding. It’s physics. Every cut generates a drop piece, and not every drop piece is reusable.
The long-term payoff for getting this right is real: fewer reorders, consistent finish quality across every room, and clients who trust you because the job came in exactly as quoted. That reputation compounds over time in ways that a shaved allowance never will.
Why sourcing from one distributor reduces your waste risk
Contractors who split orders across multiple suppliers to save a few dollars per box often pay for it in dye-lot mismatches, inconsistent plank sizing, and the time spent coordinating two deliveries instead of one.
Quality Hardwoods of Michigan, Inc carries hardwood, LVP, laminate, and engineered flooring with the product depth to fill a full job from a single lot. Local pickup is available, which means you can pull material in stages without risking a split lot from a second warehouse. Contractor quotes are free, and the team can confirm box coverage, dye lot availability, and lead times before you commit to a client price. When you’re building a tight estimate, that kind of sourcing certainty is worth more than a small per-box discount from a big-box retailer. Contact Quality Hardwoods of Michigan, Inc for a contractor quote before your next order.
Useful sources
These resources support the estimating framework and material guidelines in this guide:
- Flooring Waste Factor by Material — CraftedCalcs: Material-specific waste ranges with layout and pattern add-ons; the most detailed public reference for the table in this guide.
- Flooring Articles and Expert Guides — Quality Hardwoods of Michigan, Inc: Installation guides, product specs, and ordering resources for contractors working with hardwood, LVP, and laminate.
- Common Flooring Shopping Mistakes to Avoid — Quality Hardwoods of Michigan, Inc: Covers dye-lot consistency and ordering errors; practical reading before placing a large order.
FAQ
What is the Rule of 3 in flooring?
The Rule of 3 in flooring refers to the stagger guideline requiring that end joints in adjacent rows are offset by at least one-third of the plank length. This prevents a “H-pattern” of aligned joints that weakens the floor structurally and looks unfinished.
How do you minimize waste when installing laminate flooring?
Run laminate parallel to the longest wall, plan your starter row so the finish row is at least half a plank wide, and use drop pieces from one row as starters for the next (minimum 6–8 inches). A straight-lay laminate job typically needs a 7–10% material allowance, matching what experienced installers use for most rectangular rooms.
Should waste allowance be included in the client quote?
Yes. Build the waste allowance as a separate material line item labeled “cut-overage allowance” rather than absorbing it into labor. This prevents disputes if a second delivery is needed and keeps your labor rate clean.
How much do flooring contractors typically charge per square foot for installation?
Installation rates vary by material, region, and job complexity. Hardwood installation in the U.S. commonly runs $3–$8 per square foot for labor, with complex layouts (diagonal, herringbone) at the higher end. Material costs are quoted separately.
How do you handle dye-lot risk on large jobs?
Order all material for the full job in a single purchase from the same dye lot, and keep at least one unopened box from that lot for future repairs. Reordering piecemeal months later risks visible color variation that no finish coat can hide.