
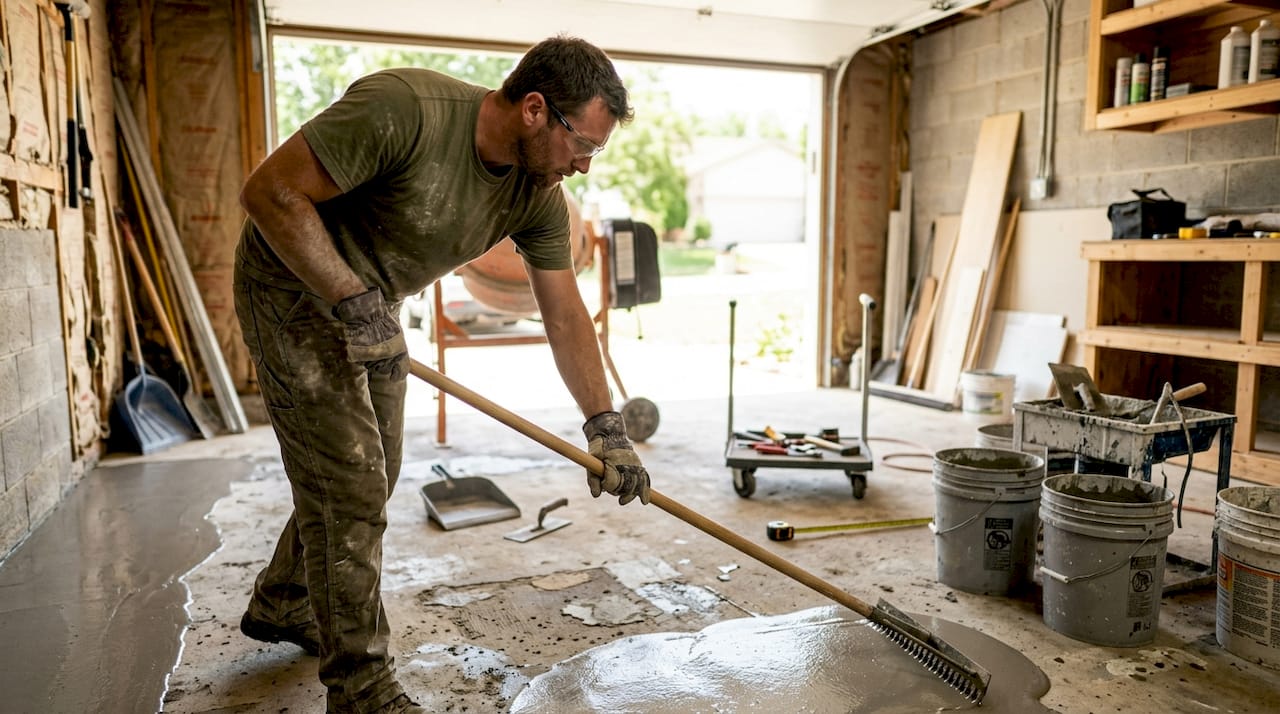
Floor leveler is defined as a cementitious or polymer compound applied to a subfloor to create a uniformly flat surface before finished flooring installation. The role of floor leveler in subfloor prep is to correct surface irregularities so the finished floor meets manufacturer flatness tolerances, typically 3/16 inch over 10 feet. Skipping or rushing this step causes adhesion failures, cracked tiles, squeaky planks, and costly callbacks. Proper subfloor preparation, including mechanical cleaning, moisture testing, and priming, is not optional. It is the foundation that determines whether a flooring system lasts years or fails within months.
What is the role of floor leveler in subfloor prep?
Floor levelers, also called self-leveling compounds or SLC, serve one specific purpose: they produce a flat, smooth surface that finished flooring can bond to reliably. They do not add structural strength. They correct surface flatness, which is a cosmetic and dimensional function, not a load-bearing one. Most flooring manufacturers specify flatness tolerances in their installation warranties, and failing to meet those tolerances voids coverage. Understanding this distinction upfront saves contractors from misapplying the product and facing failures down the line.
Effective subfloor prep extends the lifespan of finished floors and reduces callbacks dramatically, saving installation time and cost downstream. That outcome depends entirely on what happens before the leveler goes down.
Why does subfloor preparation matter before leveling?
Thorough preparation is the single most controllable variable in a leveling project. Contaminants, moisture, and weak substrates all prevent the leveling compound from bonding correctly.
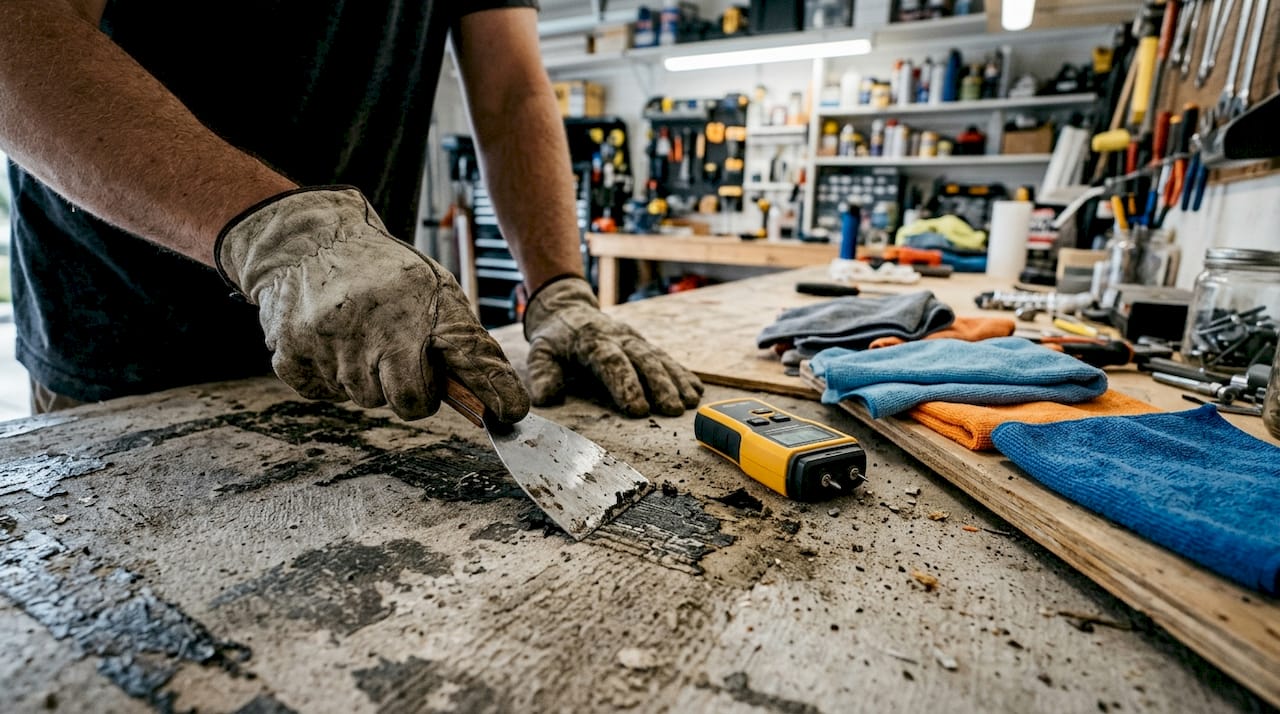
Cleaning the substrate
Surface cleaning requires total removal of old adhesives, grease, and laitance before any leveling compound is applied. Mechanical removal methods, such as shot blasting, scarifying, or grinding, are necessary for concrete substrates. Vacuuming alone does not create the surface profile needed for adhesion. On wood subfloors, remove any wax, oil, or loose paint using a floor sander or scraper before proceeding.
Moisture testing
Concrete substrates require moisture testing per ASTM F2170 to confirm relative humidity stays below 75% before leveling compounds are applied. Moisture above that threshold causes adhesion failure and product degradation. Use an in-situ probe test, not a surface test, for accurate readings. Rushing past this step is one of the most expensive mistakes a contractor can make.
Priming the substrate
Primer fills pores in porous substrates, prevents pinholes and outgassing, and increases the leveling compound’s bond strength. It also distributes moisture absorption uniformly across the surface, which prevents the substrate from pulling water out of the compound too quickly. Skipping primer on a porous concrete slab is the fastest path to delamination.
- Remove all adhesive residue, grease, paint, and laitance mechanically
- Test concrete moisture with ASTM F2170 in-situ probes before proceeding
- Apply the manufacturer-specified primer and allow full cure time
- Check for cracks, voids, and loose sections and repair them before priming
- Never pour leveling compound over a substrate that has not been primed
Pro Tip: Apply primer in two coats on highly porous concrete slabs. The first coat seals the surface; the second coat builds the bond layer that the leveling compound grips.
Does floor leveler fix structural subfloor problems?
Floor leveling compounds correct surface flatness. They do not fix structural problems. This distinction matters more than most contractors realize.
Floor levelers cannot fix floor bounce from inadequate joist spacing or subfloor deflection. Applying a rigid cementitious compound over a flexing subfloor causes it to crack within weeks. The compound has no flexibility to accommodate movement. Any deflection in the subfloor transfers directly into the leveling layer and then into the finished floor above it.
Before leveling, test structural integrity by walking the floor and noting any bounce, soft spots, or squeaking. A dial indicator placed on the subfloor while a load is applied confirms whether deflection exceeds acceptable limits. If deflection exists, address it with structural repairs and assessments before applying any leveling compound.
- Walk the entire subfloor and mark all soft spots, bouncy areas, and squeaks
- Use a dial indicator to measure deflection under load at suspect locations
- Repair or reinforce joists, blocking, or subfloor panels as needed
- Confirm the subfloor is structurally sound before mixing any leveling compound
- On wood subfloors, prime twice and embed fiber mesh to reduce crack risk
Wood subfloors must be structurally sound and primed twice, with fiber mesh reinforcement recommended to prevent cracking under the leveling compound. Fiber mesh reinforcement is a technique that improves crack resistance by combining structural support with the rigid cementitious nature of the leveler. It does not compensate for deflection, but it does reduce cracking caused by minor wood movement.
Pro Tip: Check your subfloor deflection standard against the flooring manufacturer’s specification before leveling. Some luxury vinyl plank products require stricter subfloor stability than hardwood.
How do you mix and apply floor leveling compounds correctly?
Application technique determines whether a leveling job looks professional or creates more problems than it solves. Product selection, mixing ratios, working time, and pour sequence all affect the final result.
Choosing the right leveler
Select a leveling compound rated for the pour depth your project requires. Most standard compounds flow at thicknesses between 1/8 inch and 1.5 inches. Deeper fills require a heavy-build or two-pour approach. High-traffic commercial areas need a compound with a higher compressive strength rating than a residential bedroom.
Mixing and working time
Follow the manufacturer’s water-to-powder ratio exactly. Adding extra water weakens the compound and increases shrinkage. Working time for most self-leveling compounds is 15–20 minutes, so batches must be mixed and poured without delay. Use a heavy-duty drill with a mixing paddle, not a hand stir. Inconsistent mixing creates lumps that show through the finished floor.
Pouring and finishing
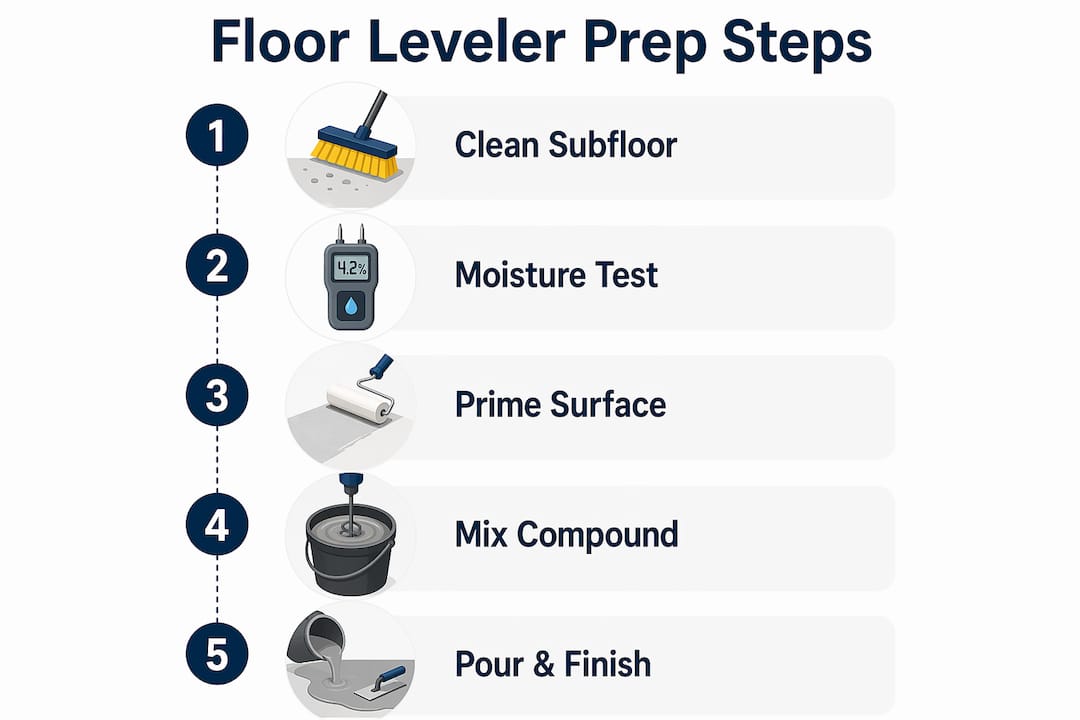
Pour the compound in a continuous flow, working from the far end of the room toward the exit. Use a gauge rake to guide thickness, then let gravity do the work. Over-troweling after initial set causes moisture to migrate to the surface, forming a weak layer prone to flaking that compromises floor finish adhesion. Trust the compound to self-level rather than working it excessively.
Large projects over 200 square feet require a two-person team to maintain a continuous wet edge during pouring. One person mixes continuously while the other pours and spreads. This prevents cold joints, which are weak seams that form when one pour begins to set before the next pour overlaps it.
| Application factor | Best practice |
|---|---|
| Pour depth | Match compound type to required depth (1/8 inch to 1.5 inches standard) |
| Mixing ratio | Follow manufacturer spec exactly; never add extra water |
| Working time | Complete each pour within 15–20 minutes of mixing |
| Team size | Two people for areas over 200 square feet |
| Troweling | Minimal; let gravity self-level the compound |
What causes floor leveler failures and how do you prevent them?
Most leveling failures trace back to preparation shortcuts, not product defects. Knowing the failure patterns helps contractors catch problems before they become callbacks.
Failing to apply the manufacturer-recommended primer causes leveling compound failures through cracking and delamination. Primer stops the substrate from absorbing water too quickly, which is what keeps the compound from drying out before it bonds. Without primer, the compound loses adhesion within days.
Skipping primer or poor substrate cleaning leads to high failure rates of floor leveling compounds in both commercial and residential projects. This failure is one of the leading causes of flooring system breakdown within a few months of installation.
Common failure causes and their fixes:
- Skipping primer: Apply the correct primer for your substrate type and allow full cure before pouring
- Pouring over damp concrete: Test with ASTM F2170 probes and wait for RH to drop below 75%
- Ignoring subfloor flex: Fix structural issues before leveling; rigid compounds crack over moving subfloors
- Incorrect mixing: Use a drill and paddle, follow the ratio, and mix each batch fully before pouring
- Incomplete cleaning: Mechanical preparation is required; surface contamination prevents bonding
Many contractors underestimate the critical nature of primer and substrate cleaning, which tips the balance between a successful installation and a costly failure. The fix is not a better product. It is a more disciplined preparation process. Review your subfloor requirements checklist before every project to keep preparation steps consistent.
Key Takeaways
Proper subfloor leveling requires mechanical cleaning, moisture testing per ASTM F2170, correct priming, and disciplined application technique to prevent adhesion failure and protect the finished floor.
| Point | Details |
|---|---|
| Primer is non-negotiable | Skipping primer is the leading cause of leveling compound failure and delamination. |
| Structural issues come first | Fix joist deflection and subfloor bounce before applying any leveling compound. |
| Moisture testing protects the job | ASTM F2170 in-situ testing confirms concrete RH is below 75% before leveling. |
| Working time is short | Most compounds must be poured within 15–20 minutes of mixing to avoid cold joints. |
| Team up on large areas | Two-person crews prevent cold joints on projects over 200 square feet. |
What I’ve learned about floor leveler prep after years on the job
The biggest mistake I see contractors make is treating floor leveling as a quick fix rather than a disciplined process. They pour compound over a dirty slab, skip the primer, and wonder why the floor cracks before the client even moves furniture in. The product is not the problem. The preparation is.
What I’ve found is that the contractors who get the best results spend more time on prep than on the actual pour. They grind the slab, test moisture, prime twice on porous concrete, and check for deflection before they open a bag of compound. That sequence takes longer, but it eliminates callbacks almost entirely.
The structural issue is the one that catches people off guard most often. A floor that bounces slightly feels fine to walk on, but a rigid leveling compound over that subfloor will crack within weeks. I always tell installers: if the floor moves, fix the frame first. No leveling compound fixes a structural problem. It only hides it until the crack shows up.
For installing hardwood, vinyl, or laminate over a leveled subfloor, the prep work you do before the pour is what determines whether the finished floor performs for decades or fails in months. Invest the time. It pays every time.
— Mike Solomich
Quality flooring products built for properly prepared subfloors
A level subfloor is only the beginning. The flooring you install over it needs to match the same standard of quality.

Quality Hardwoods of Michigan, Inc carries a full selection of premium vinyl flooring and laminate flooring options engineered for performance over properly prepared subfloors. Whether you are working on a residential remodel or a commercial build, the team at Quality Hardwoods of Michigan, Inc can match you with the right product for your subfloor conditions and project specs. With over 40 years serving Michigan contractors, they understand what goes into a lasting installation from the slab up. Contact Quality Hardwoods of Michigan, Inc directly for product recommendations and contractor pricing.
FAQ
What does a floor leveler actually do?
A floor leveler corrects surface irregularities to meet flooring manufacturer flatness tolerances, typically 3/16 inch over 10 feet. It creates a smooth, flat surface for finished flooring to bond to reliably.
Can you skip primer before applying a self-leveling compound?
Skipping primer causes the substrate to absorb water from the compound too quickly, leading to cracking and delamination. Primer application is required on all porous substrates before pouring any leveling compound.
How do you test if a subfloor is ready for leveling?
Test concrete moisture with ASTM F2170 in-situ probes to confirm relative humidity is below 75%. Also walk the subfloor to check for deflection, soft spots, and bounce before applying any leveling compound.
What happens if you over-trowel a self-leveling compound?
Over-troweling after initial set pushes moisture to the surface, forming a weak layer that flakes and compromises adhesion. Let the compound self-level under gravity and limit trowel work to guiding flow only.
Why do floor leveling compounds crack after installation?
Cracking most often results from skipping primer, pouring over a damp substrate, or applying compound over a structurally unsound subfloor with deflection. Fix structural issues and follow proper prep steps to prevent cracking.
Recommended
- Install Hardwood Vinyl LVP | Quality Hardwoods of Michigan
- Hardwood Flooring Subfloor Requirements: A Complete Guide — Quality Hardwoods of Michigan
- Flooring Articles & Expert Guides — Hardwood, LVP & More | Quality Hardwoods of Michigan
- Common Flooring Shopping Mistakes to Avoid in 2026 — Quality Hardwoods of Michigan