
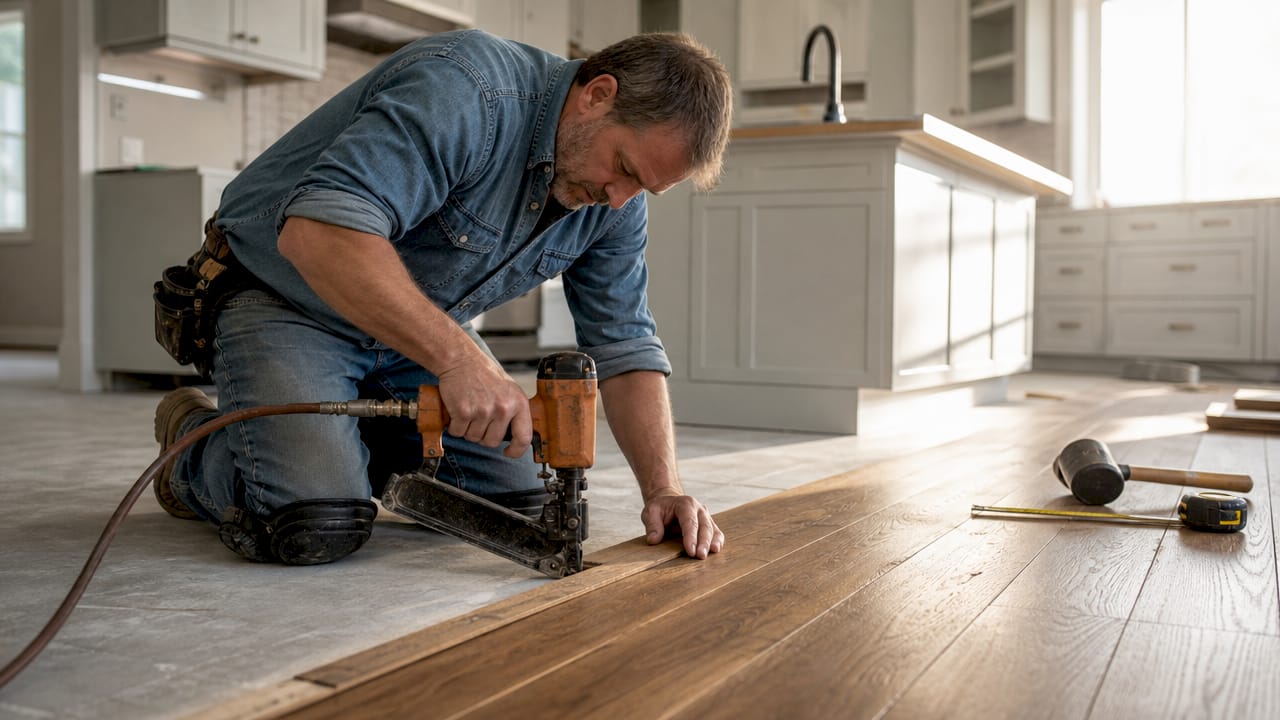
Nail-down solid hardwood flooring is the process of fastening solid wood planks directly to a wood subfloor using nails or staples driven through the plank tongue at a 45-degree angle. This method, known in the industry as blind nailing, produces one of the most stable and permanent floors you can install in an above-grade room. Solid hardwood floors can last 75–100 years with proper installation and refinishing. That longevity depends almost entirely on getting the preparation and nailing technique right from the start. This guide walks you through every step, from subfloor prep to the final row, so you avoid the permanent mistakes that plague rushed DIY jobs.
What tools do you need to nail down solid hardwood flooring?
The right tools make the difference between a floor that lasts a century and one that squeaks by spring. A pneumatic flooring nailer is the single most important piece of equipment. It drives fasteners through the plank tongue at the correct 45-degree angle and rents for roughly $40–$60 per day. Buying one outright makes sense only if you plan to floor multiple rooms or properties.
Here is a complete list of tools and their purposes:
- Pneumatic flooring nailer and air compressor: Drives cleats or staples through the tongue at 45 degrees. The compressor should deliver at least 100 PSI.
- Miter saw: Cuts planks to length at the walls and around obstacles.
- Tape measure and chalk line: Marks your starting line and keeps rows straight across the room.
- Spacers and pull bar: Maintains the required expansion gap at walls and pulls the last planks tight.
- Rubber mallet: Seats planks firmly without damaging the tongue or groove.
- Moisture meter: Checks both the subfloor and the wood planks before installation begins.
- Safety glasses and knee pads: Protect you during the hours of kneeling and nailing.
| Tool | Purpose | Approximate rental cost |
|---|---|---|
| Pneumatic flooring nailer | Blind nails through tongue at 45 degrees | $40–$60 per day |
| Air compressor | Powers the nailer | $30–$50 per day |
| Miter saw | Cross-cuts planks to fit | $40–$70 per day |
| Moisture meter | Verifies subfloor and wood moisture levels | $15–$25 per day |
Pro Tip: Rent the nailer and compressor together from the same shop. Mismatched PSI ratings between brands cause misfires that split the tongue and ruin planks.
How do you prepare the subfloor for solid hardwood installation?
Subfloor preparation is where most DIY nail-down jobs fail. Nail-down installation requires 3/4-inch solid hardwood over a wood-based subfloor of 5/8–3/4 inch CDX plywood or 23/32 inch OSB. Concrete slabs and below-grade rooms are not compatible with this method. Period.
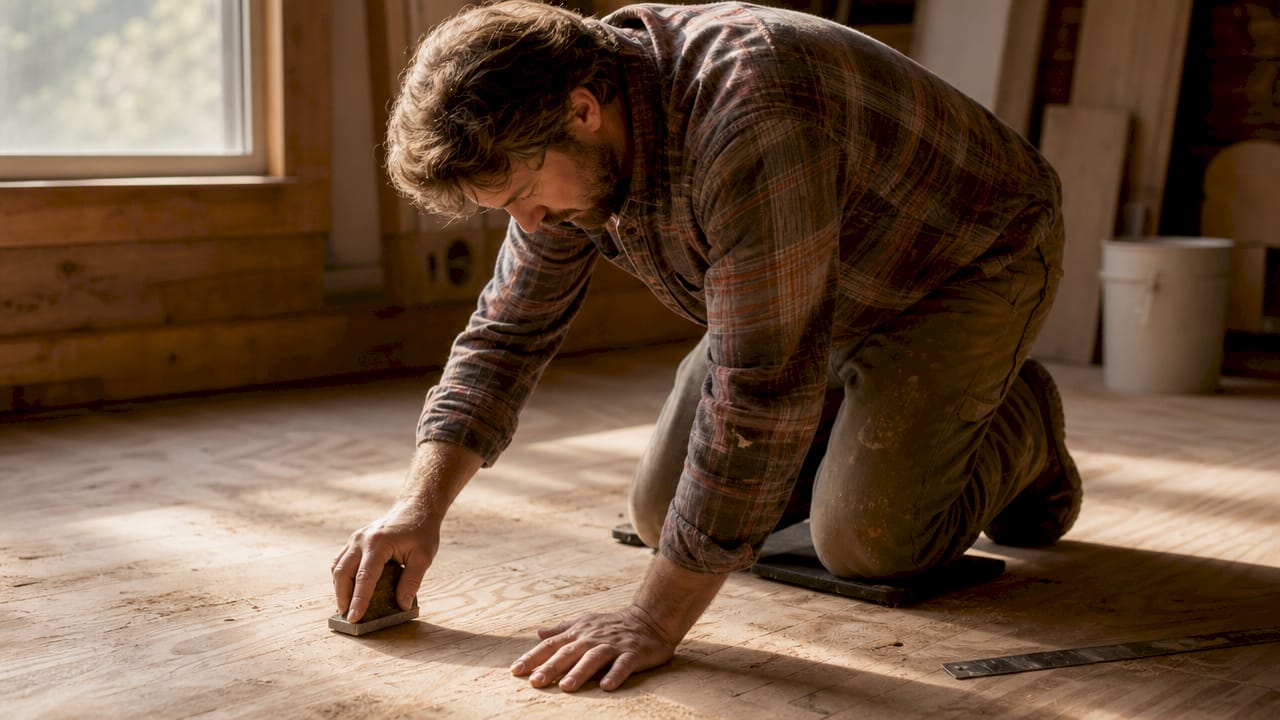
Flatness and moisture are the two non-negotiable specs. The subfloor must be flat within 3/16 inch over a 10-foot radius, and the moisture differential between the subfloor and the hardwood planks must stay within 2%–4%. Exceeding either tolerance guarantees structural problems after installation. You cannot fix buckling or gapping once the floor is nailed down without tearing it up.
Follow these preparation steps before you drive a single nail:
- Check flatness: Use a 10-foot straightedge across the entire subfloor. Mark any high spots with a pencil and grind them down. Fill low spots with floor-leveling compound and let it cure fully.
- Measure moisture: Use a moisture meter on both the subfloor and the hardwood planks. Record both readings and confirm the difference stays within 2%–4%.
- Inspect for squeaks: Walk the subfloor and screw down any loose panels. Squeaks in the subfloor become squeaks in the finished floor.
- Clean the surface: Remove all debris, staples, and old adhesive. Nail down any raised edges on plywood sheets.
- Acclimate the wood: Stack the hardwood planks in the installation room with the HVAC running for 5–7 days before nailing.
That last step is the one homeowners skip most often. Acclimation without HVAC running is not acclimation. The wood must reach equilibrium moisture content with the actual living conditions of the room, not a construction-site environment.
Pro Tip: Lay the planks in staggered stacks with spacers between rows so air circulates around every board. A single tight bundle will not acclimate evenly, even after a full week.
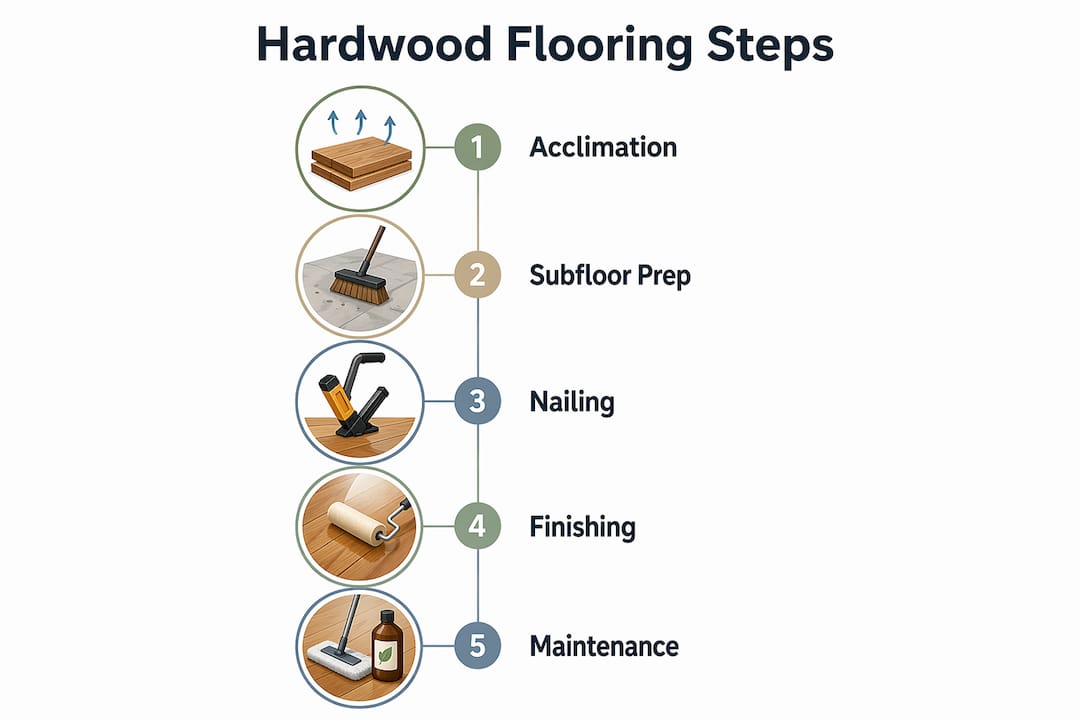
Step-by-step process to install nail-down hardwood floors
A clean installation follows a fixed sequence. Skipping steps or reversing their order creates problems you cannot undo.
-
Snap your starting chalk line. Measure out from the longest straight wall and snap a chalk line parallel to it. This line is your reference for the entire floor. If the wall is out of square, adjust the line so your rows run straight across the room.
-
Lay the first row face-down and face-nail it. Place the first row of planks with the groove side facing the wall. Face nailing is required for the first two rows because the pneumatic nailer cannot fit close enough to the wall to blind-nail. Drive finish nails by hand or with a finish nailer, then fill the holes with color-matched wood putty.
-
Begin blind nailing from the third row onward. Position the pneumatic nailer over the tongue of each plank and strike the mallet pad to drive the fastener. Space fasteners every 6–10 inches along each plank. Keep the spacing consistent. Irregular spacing causes the floor to flex and squeak over time.
-
Rack the floor before you nail. Pull planks from at least three or four boxes at once and lay out several rows before nailing any of them down. Mixing boards from multiple boxes blends color and grain variation naturally across the floor. Pulling from one box at a time creates visible color blocks that look unnatural and cannot be fixed without replacement.
-
Maintain expansion gaps at all walls. Use spacers to hold a consistent 3/4-inch gap between the last plank and every wall. Wood expands and contracts with seasonal humidity changes. Without this gap, the floor has nowhere to move and will buckle.
-
Use a pull bar for the last few rows. As you approach the far wall, the nailer will no longer fit. Use a pull bar and rubber mallet to seat the final planks tightly. Face-nail the last two rows just as you did the first two, and fill all nail holes with putty.
-
Install baseboards and transitions last. Nail baseboards to the wall, not the floor. Nailing them to the floor pins the expansion gap and defeats its purpose.
Pro Tip: Cut your first plank to a random length before starting the first row. This staggers the end joints from the very beginning and prevents a “staircase” pattern of seams running across the room.
Common errors to avoid:
- Nailing too close to plank ends, which splits the tongue
- Skipping the chalk line and letting rows drift out of parallel
- Forgetting to countersink face nails before applying putty
- Using the wrong fastener length for your subfloor thickness
How do you fix squeaks, gaps, and other problems in nailed hardwood floors?
Squeaks are the most common complaint after a nail-down installation. They happen when planks rub against each other or against a fastener that did not fully seat. The root cause is almost always one of three things: insufficient nailing, a subfloor that was not flat, or wood that was not properly acclimated before installation.
“Nail-down installation is a high-risk, permanent method that requires skill. DIYers must prepare carefully or risk permanent issues like squeaks or gaps.” — This Old House
Gaps between planks signal that the wood shrank after installation. This happens when the moisture differential between the subfloor and the planks exceeded the 2%–4% threshold at install time. Small seasonal gaps that close in summer are normal. Gaps that stay open year-round point to a moisture problem that existed before the first nail went in.
Buckling, where planks bow upward, means the expansion gap was too small or missing entirely. You cannot fix buckling by pressing the floor down. The planks must be removed, the gap restored, and the affected rows reinstalled.
For ongoing maintenance, follow these practices:
- Control indoor humidity between 35%–55% year-round. A whole-home humidifier in winter prevents shrinkage gaps.
- Clean with a dry or barely damp mop. Standing water is the fastest way to damage a wood floor.
- Refinish on schedule. Solid hardwood can be sanded and refinished multiple times. Address surface wear before it reaches the wood itself.
- Inspect fasteners annually. A nail that has worked loose can be re-driven or replaced with a screw from below if you have basement access.
Call a professional when buckling covers more than a few planks, when subfloor damage is suspected, or when the floor shows signs of mold beneath it. Those repairs go beyond what a pull bar and putty can fix.
Key takeaways
Nail-down solid hardwood flooring succeeds when subfloor flatness, moisture control, and consistent fastener spacing are all met before and during installation.
| Point | Details |
|---|---|
| Subfloor specs are non-negotiable | Use 3/4-inch CDX plywood or 23/32-inch OSB; concrete slabs do not work. |
| Acclimate for 5–7 days with HVAC running | Wood must reach room equilibrium before nailing to prevent buckling or shrinkage. |
| Rent a pneumatic flooring nailer | Space fasteners every 6–10 inches at 45 degrees for a stable, squeak-free floor. |
| Rack from multiple boxes | Mixing planks from several boxes prevents color blocking and creates a natural look. |
| Face-nail the first and last two rows | Blind nailing tools cannot reach the walls; fill holes with color-matched wood putty. |
What I’ve learned after watching hundreds of nail-down installs go wrong
Most DIY nail-down failures I have seen come down to one thing: impatience with preparation. Homeowners get excited about the finished floor and rush past the moisture readings, the acclimation period, and the subfloor flatness check. Those steps feel like delays. They are not. They are the installation.
The pneumatic nailer intimidates a lot of first-timers, and I understand why. It is loud, it is heavy, and a misfire can split a tongue and ruin a plank. But the tool itself is not the hard part. You can learn to use it correctly in about 20 minutes on scrap wood. What you cannot learn quickly is how to read a subfloor that looks flat but is not, or how to tell whether a moisture reading is acceptable for your specific species. That judgment comes from experience.
My honest advice: rent the best nailer you can find, not the cheapest one. A quality tool drives fasteners cleanly and consistently. A worn-out rental nailer misfires, and every misfire is a plank you may have to replace. The unfinished hardwood installation process rewards patience and penalizes shortcuts in ways that are expensive and permanent.
One more thing most guides do not tell you: the room matters as much as the wood. A bedroom above a vented crawl space in Michigan has completely different moisture dynamics than a living room over a heated basement. Check the differences between solid and engineered hardwood before you commit to nail-down. For some rooms, engineered hardwood is simply the smarter choice, and there is no shame in that.
— Mike Solomich
Hardwood flooring products and guidance from Quality Hardwoods of Michigan, Inc
Quality Hardwoods of Michigan, Inc has served the Michigan flooring market for over 40 years, supplying unfinished and prefinished hardwoods, stains, finishes, and abrasives to homeowners and contractors alike. Whether you are sourcing planks for a nail-down project or comparing solid wood against other options, the team can point you toward the right product for your subfloor and room conditions.

Not every room suits solid hardwood. If your project involves a basement, a slab, or a high-moisture area, Quality Hardwoods of Michigan, Inc carries luxury vinyl plank options and laminate flooring that perform where solid wood cannot. Visit the showroom or browse online to find the right fit for your home.
FAQ
What subfloor does nail-down hardwood require?
Nail-down solid hardwood requires a wood-based subfloor of 5/8–3/4 inch CDX plywood or 23/32 inch OSB. Concrete slabs and below-grade rooms are not compatible with this installation method.
How long does hardwood need to acclimate before installation?
Wood must acclimate in the installation room for 5–7 days with the HVAC system running. Skipping this step causes buckling or shrinkage after the floor is nailed down.
How far apart should fasteners be spaced?
Drive fasteners every 6–10 inches through the plank tongue at a 45-degree angle. Consistent spacing prevents flex and squeaking after the floor settles.
Can I nail down hardwood floors myself?
Yes, but preparation is the hard part, not the nailing. Verify subfloor flatness, moisture levels, and acclimation before you start. Renting a quality pneumatic flooring nailer produces far better results than hand-nailing.
How long do nail-down hardwood floors last?
Solid hardwood floors installed correctly last 75–100 years with periodic refinishing. Longevity depends on stable indoor humidity and avoiding standing water on the surface.