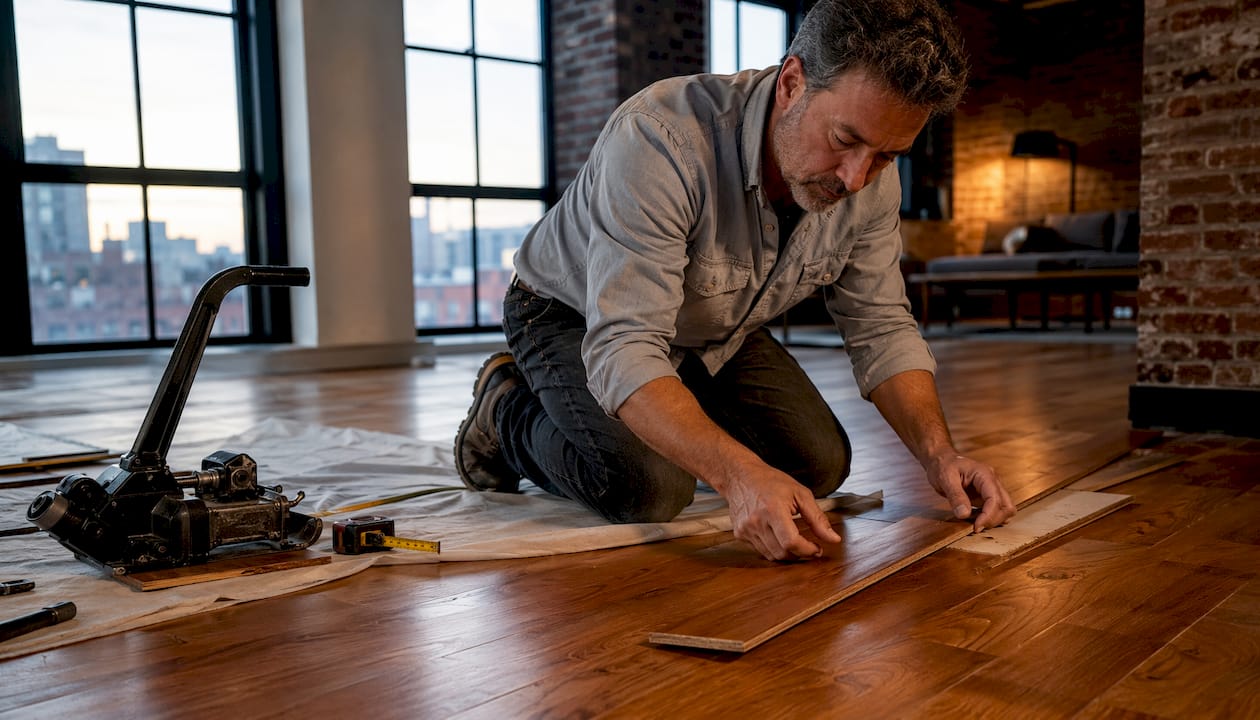
Hardwood floors need professional installation because wood is a living material that expands, contracts, and reacts to moisture in ways that punish even small errors. Get the subfloor prep wrong, skip proper acclimation, or leave out the expansion gaps and you will be looking at buckled planks, squeaks, and voided warranties within a single heating season. The NWFA installation guidelines are direct about it: hardwood installation requires the right tools, the right subfloor, the right site conditions, and the right skills. Most homeowners have none of those four on day one.
The core reasons professionals are worth every dollar:
- Moisture testing and acclimation prevent warping, cupping, and gaps after installation
- Subfloor preparation to the correct flatness tolerance stops squeaks and buckling before they start
- Precise layout and consistent expansion gaps let the wood move safely with seasonal humidity changes
- Specialized fastening methods lock each plank without splitting the tongue or creating loose spots
- Professional technique protects long-term floor stability and the appearance you paid for
Why professional installation is the right call for hardwood floors
Experience with wood flooring is not something you can shortcut. A trained installer has worked with dozens of species, from dense Brazilian cherry to softer domestic oak, and knows how each one behaves under Michigan’s humidity swings. That knowledge shapes every decision before the first board goes down.
Professionals follow NWFA guidelines as a baseline, not a suggestion. Those standards cover moisture management, subfloor requirements, fastening patterns, and finish application. An installer who has internalized them can evaluate your specific home, its climate, its subfloor type, and its room geometry, and adapt accordingly.
Key advantages of installer expertise:
- Formal training in NWFA installation standards and moisture management
- Ability to read subfloor conditions and identify hidden structural issues before installation
- Hands-on experience with multiple wood species and installation methods, including nail-down, glue-down, and floating
- Understanding of how improper technique voids manufacturer warranties
Pro Tip: Ask any installer you interview whether they hold NWFA certification. Certified installers receive advanced education in moisture management, sanding standards, and long-term hardwood performance, details that matter most in homes with challenging layouts or fluctuating humidity.
How professional installation protects your floor’s quality and warranty
Manufacturer warranties on hardwood flooring are conditional. Most require documented proof of proper moisture testing, correct acclimation, and installation methods that match the product specs. A DIY install that skips those steps does not just risk a bad floor; it risks a floor with zero warranty coverage when something goes wrong.

Professional installers maintain records throughout the project. When a warranty claim comes up months later, that documentation is what gets it honored. Beyond paperwork, the quality of the work itself reduces the likelihood of needing a claim at all.
Benefits that protect your investment long-term:
- Proper installation is a prerequisite for most manufacturer warranty coverage
- Fewer installation errors mean lower repair and maintenance costs over the floor’s life
- Certified processes support product longevity, often extending floor life with minimal upkeep
- Post-installation support from a professional gives you a direct contact if anything shifts or separates
What tools and site preparation actually look like at a professional level
Most homeowners picture hardwood installation as a saw and a nail gun. The real toolkit is considerably more involved, and the preparation work takes longer than the installation itself.

Professionals use commercial-grade moisture meters to verify that wood and subfloor moisture content are within 2–4% of each other before a single board is placed. Subfloors must be flat within a strict tolerance over long spans; any deviations get corrected with leveling compound or sanding before installation begins. Pneumatic flooring nailers create uniform fastening patterns that hand-nailing cannot replicate. Commercial saws produce clean cuts around door frames, staircases, and cabinetry that a basic circular saw simply will not match.
Site preparation steps professionals never skip:
- Moisture testing of both the wood and the subfloor with calibrated meters
- Subfloor leveling to eliminate dips and high spots that cause squeaks and hollow sounds
- Hardwood acclimation for 3–7 days until moisture content reaches equilibrium with the home environment
- Strategic layout planning that accounts for traffic flow, lighting direction, and room proportions
- Leaving expansion gaps of adequate size around all perimeter walls, posts, and fixed surfaces
Pro Tip: Expansion gaps are not cosmetic. They are a structural requirement. Skipping them or cutting them too narrow causes the floor to push against walls during humid months, which leads to buckling and, in many cases, voids the warranty entirely.
Proper subfloor preparation is where most DIY installations fail. A floor laid over an uneven or damp subfloor will develop problems within the first year, often requiring partial or full removal to fix the source.
How professionals save you time and keep your home safe
A trained flooring crew works with a division of labor that a solo homeowner cannot replicate. One installer cuts, another fastens, others stage boards. That overlap trims the timeline dramatically and keeps the project on schedule.

Safety is a real consideration too. Pneumatic nailers, table saws, and heavy plank material all carry injury risk when handled without proper training. Professionals arrive with safety protocols built into their workflow, protecting both themselves and your property.
Practical time and safety advantages:
- Faster completion compared to a weekend DIY stretch that can drag across weeks
- Reduced material waste from accurate cuts and planned layout
- Proper handling of power tools and heavy materials without risk to the homeowner
- Debris removal and cleanup included, costs that DIY budgets often overlook
The true cost of DIY installations often includes hidden expenses: wasted material from cutting errors, tool rentals, and the cost of fixing premature floor failures caused by moisture problems. When you factor in those variables, professional labor frequently costs less than the mistakes it prevents. For a broader look at how this decision plays out across home projects, the comparison of DIY vs. hiring a pro is worth reading before you commit either way.
Maintaining your hardwood floors after professional installation
A well-installed floor still needs consistent care to reach its full lifespan. The good news is that professional installation makes maintenance easier because the floor starts from a stable, correctly prepared base.
Maintenance practices that protect a professionally installed floor:
- Clean with products designed for hardwood finishes; avoid wet mopping or steam cleaners
- Monitor indoor humidity seasonally, ideally keeping it between 35% and 55% to limit wood movement
- Schedule periodic inspections to catch early signs of finish wear, edge lifting, or moisture intrusion
- Use professional refinishing services rather than DIY sanding, since commercial HEPA-filtered sanding equipment produces smoother, more even results than rental machines
Squeaks that develop after installation are almost always a sign of subfloor movement or loose fasteners, not a finish problem. A professional can identify the source without pulling up the entire floor, which is rarely possible with a DIY repair attempt.
Ready to get your hardwood floors installed the right way? Quality Hardwoods of Michigan, Inc has served Michigan homeowners and contractors for over 40 years, with a full range of hardwood, luxury vinyl plank, laminate, and related flooring products backed by expert installation guidance. Visit the showroom or explore the full product catalog to find the right floor for your home.

Key Takeaways
Professional hardwood floor installation protects your investment by combining moisture control, precise subfloor preparation, and NWFA-compliant technique to prevent the failures that end DIY projects early.
| Point | Details |
|---|---|
| Moisture control is non-negotiable | Wood and subfloor moisture content must be within a small equilibrium range of moisture content before installation begins. |
| Subfloor flatness matters | Professionals correct any irregularity beyond 3/16 inch to prevent squeaks and buckling. |
| Expansion gaps are structural | Adequately sized gaps around all perimeter walls allow seasonal wood movement without buckling. |
| Warranties require documentation | Manufacturers need proof of proper acclimation and installation methods to honor warranty claims. |
| Professional floors last longer | Properly installed hardwood can reach decades of service life with minimal upkeep. |
FAQ
How much does it cost to install 1,000 sq ft of hardwood flooring?
Labor costs for professional hardwood installation vary by region, wood species, and subfloor condition. Subfloor repairs, stair work, and complex layouts add to the base labor rate, which is why getting a written estimate before the project starts matters.
Do flooring installers remove baseboards?
Most professional installers remove baseboards before installation and reinstall them afterward to cover the required expansion gap. Confirm this is included in your quote, since some contractors charge separately for trim work.
What is the lifespan of a hardwood floor?
Hardwood floors installed correctly and maintained with consistent humidity control can last for decades before refinishing is needed, and the underlying wood can last far longer. The NWFA notes that documented wood floors in Europe have survived more than five centuries.
What is the best time of year to install hardwood floors?
Late spring and early fall tend to offer the most stable indoor humidity levels, which makes acclimation more predictable. Avoid installation during peak summer humidity or the driest winter months unless your home has reliable climate control throughout the process.